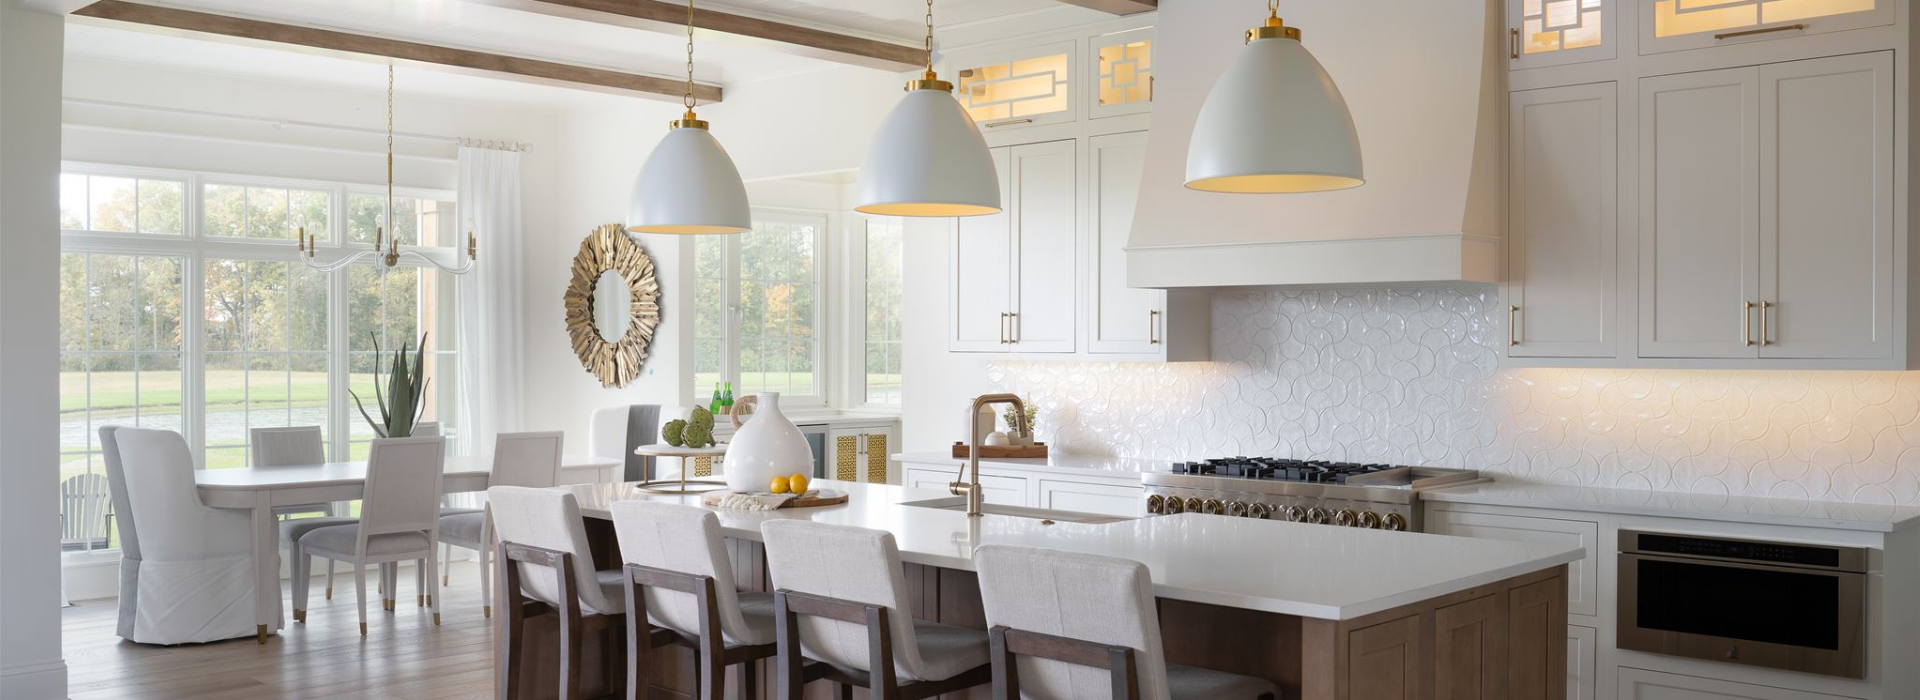
everything home designs hero image everything home designs hero image

Repurpose or Remove? Remodeling Design Decisions

jonesandharte-36_websize

Whether you decided to give your existing home a style lift or you purchased an older home with the intention to renovate, you might be wondering what elements should stay and what should go. Remodeling doesn’t always call for full replacement—a skilled remodeling contractor can guide you in making valuable decisions about preserving your home’s character and investment while updating the atmosphere. 

It’s a Keeper! And Other Remodeling Design Decisions:

Hardwood Updates

Solid hardwood flooring is flexible and forgiving when it comes to renovation. New hardwood of the same wood species and dimensions can be feathered into old flooring when altering floor plans or eliminating unnecessary thresholds and uneven floors between rooms. Hardwood of any age can be sanded and refinished in modern finishes for an impactful cost-saving update.

Built-In Cabinetry

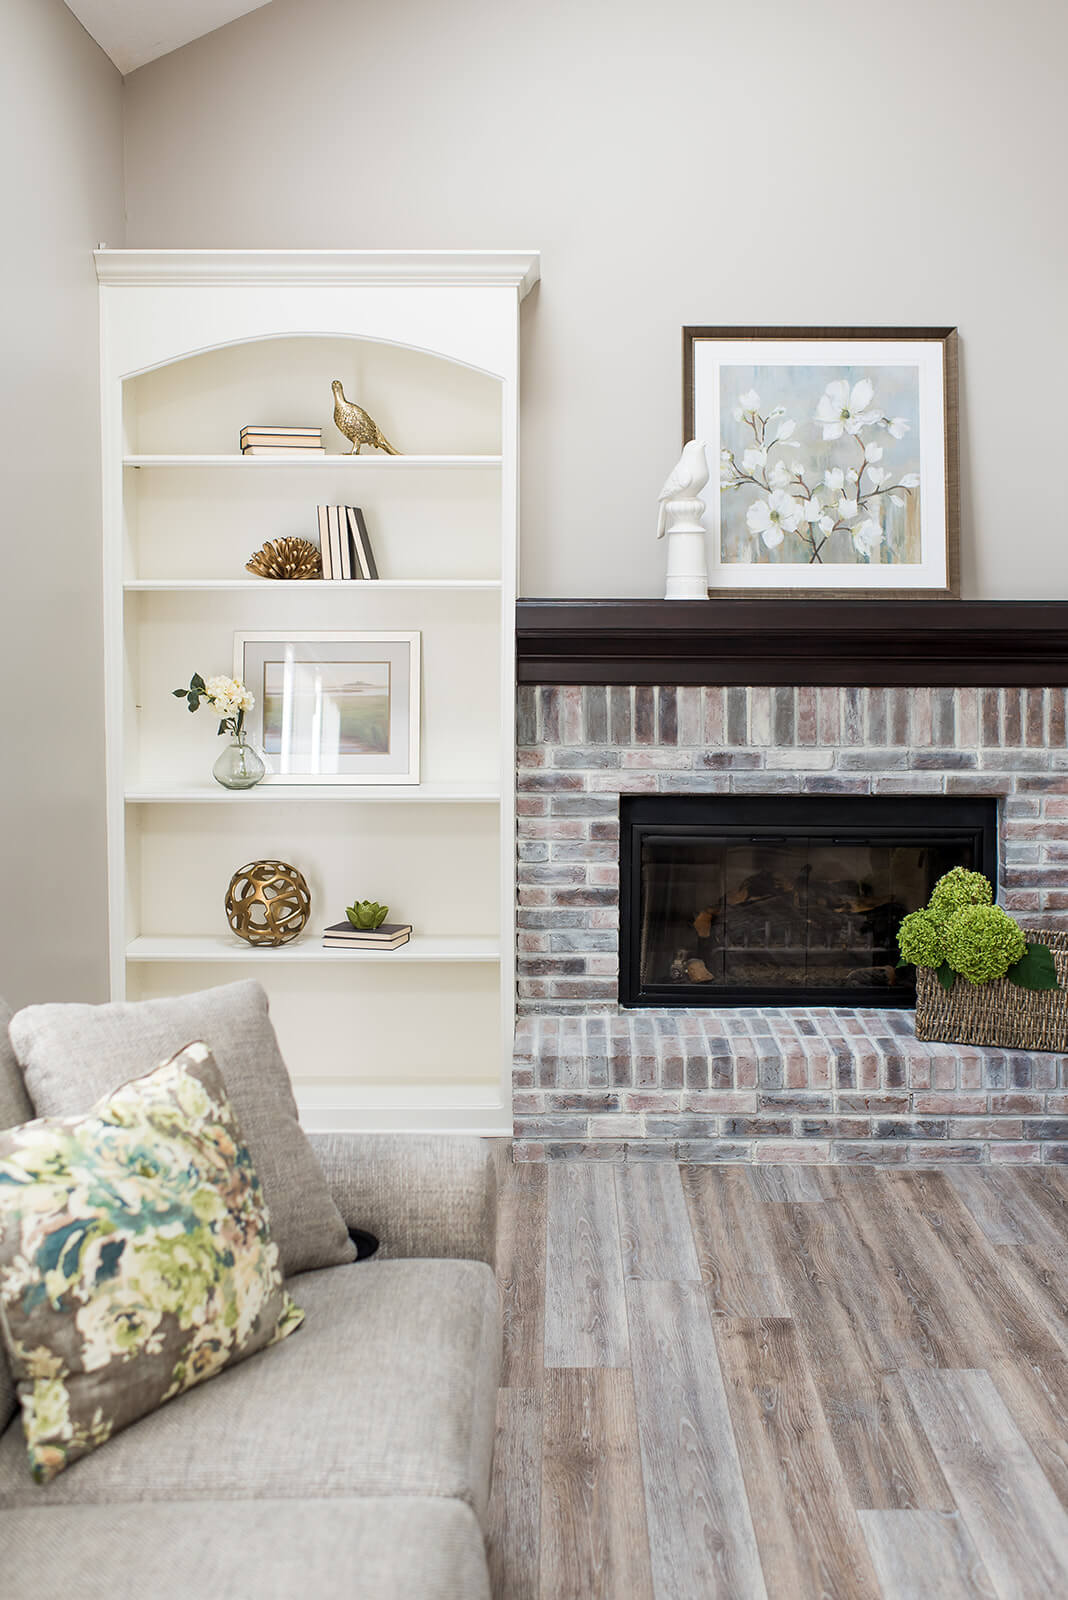
Custom built-in cabinetry, like fireplace surrounds and storage nooks, can be timeless in appeal. While some paint colors or stain finishes may be fleeting, the usefulness and aesthetics of built-in cabinetry often endures. Consider keeping built-in cabinetry and restoring with paint or stain finishes that support new design goals. 

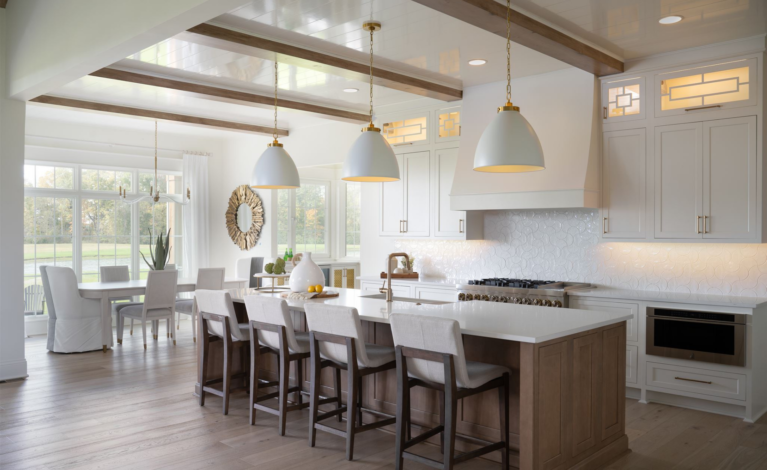
Complete Home Renovation - Kitchen before/after
Interior Design: Everything Home Designs | Photo Credit: Sarah Shields

Classic Hardware

Hardware design, like cabinet pulls and door knobs, remains eclectic with both vintage and modern styles popular today. Survey existing hardware in your house before renovating rooms, decide what shapes and styles you still like before replacing. Set aside old hardware that can be reused, upcycled, or repurposed before trading in for new. 

Dated Trim Work

To paint or not to paint, a common question when it comes to stained baseboard molding, doors, and windows in older homes. With a “lighten and brighten” interior design mantra widely appreciated, the preference is usually to paint dark-stained wood molding and window trim with a clean coat of white paint for a more refreshing look. Old stained doors can be painted to complement white molding, or sanded and stained in a modern finish to contrast trim and maintain warmth in the house. 
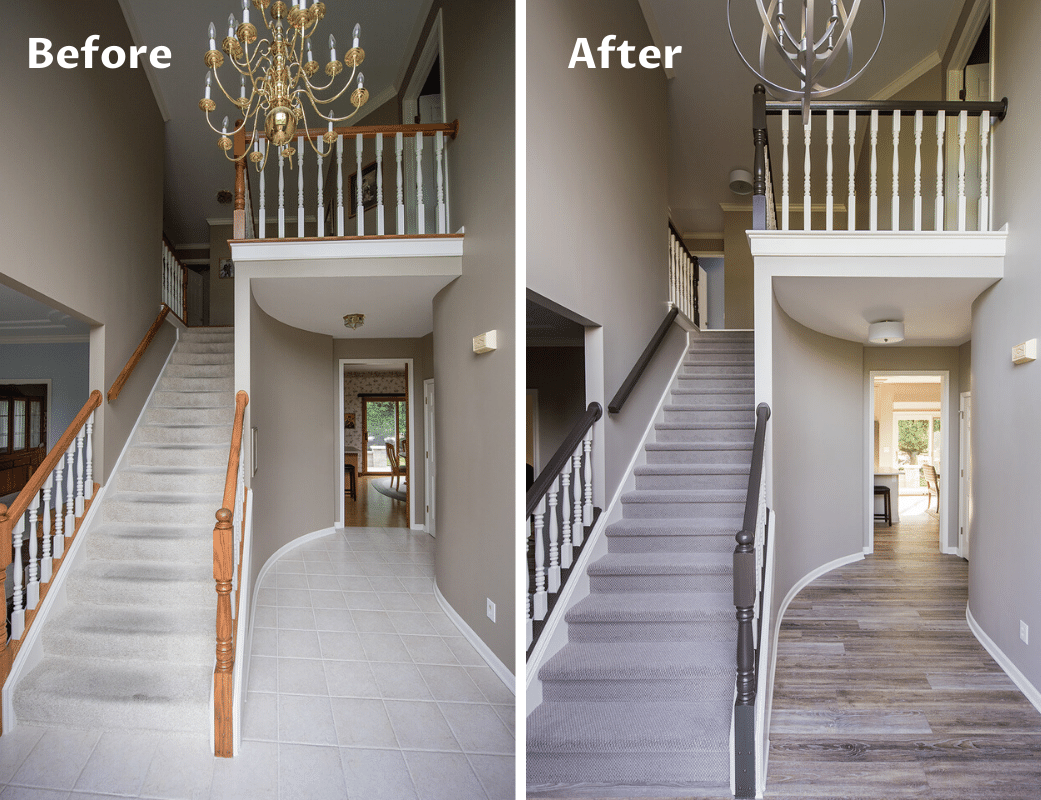
Complete Home Renovation - Before/After Entryway
Interior Design: Everything Home Designs | Photo Credit: Sarah Shields

Wall Textures

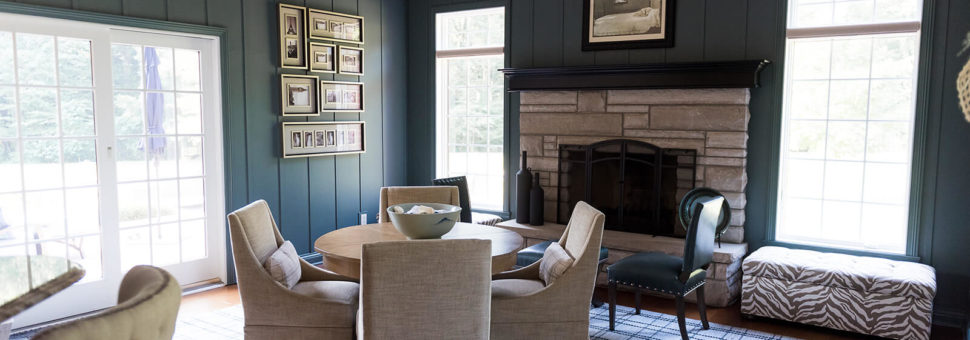
Never miss an opportunity to preserve existing wall texture like shiplap or similar when renovating. Incorporate these unique textures into new design plans for added visual interest. Blend wall textures seamlessly, old and new, with a monochromatic paint scheme or use a contrasting color palette for a stand-out look. 
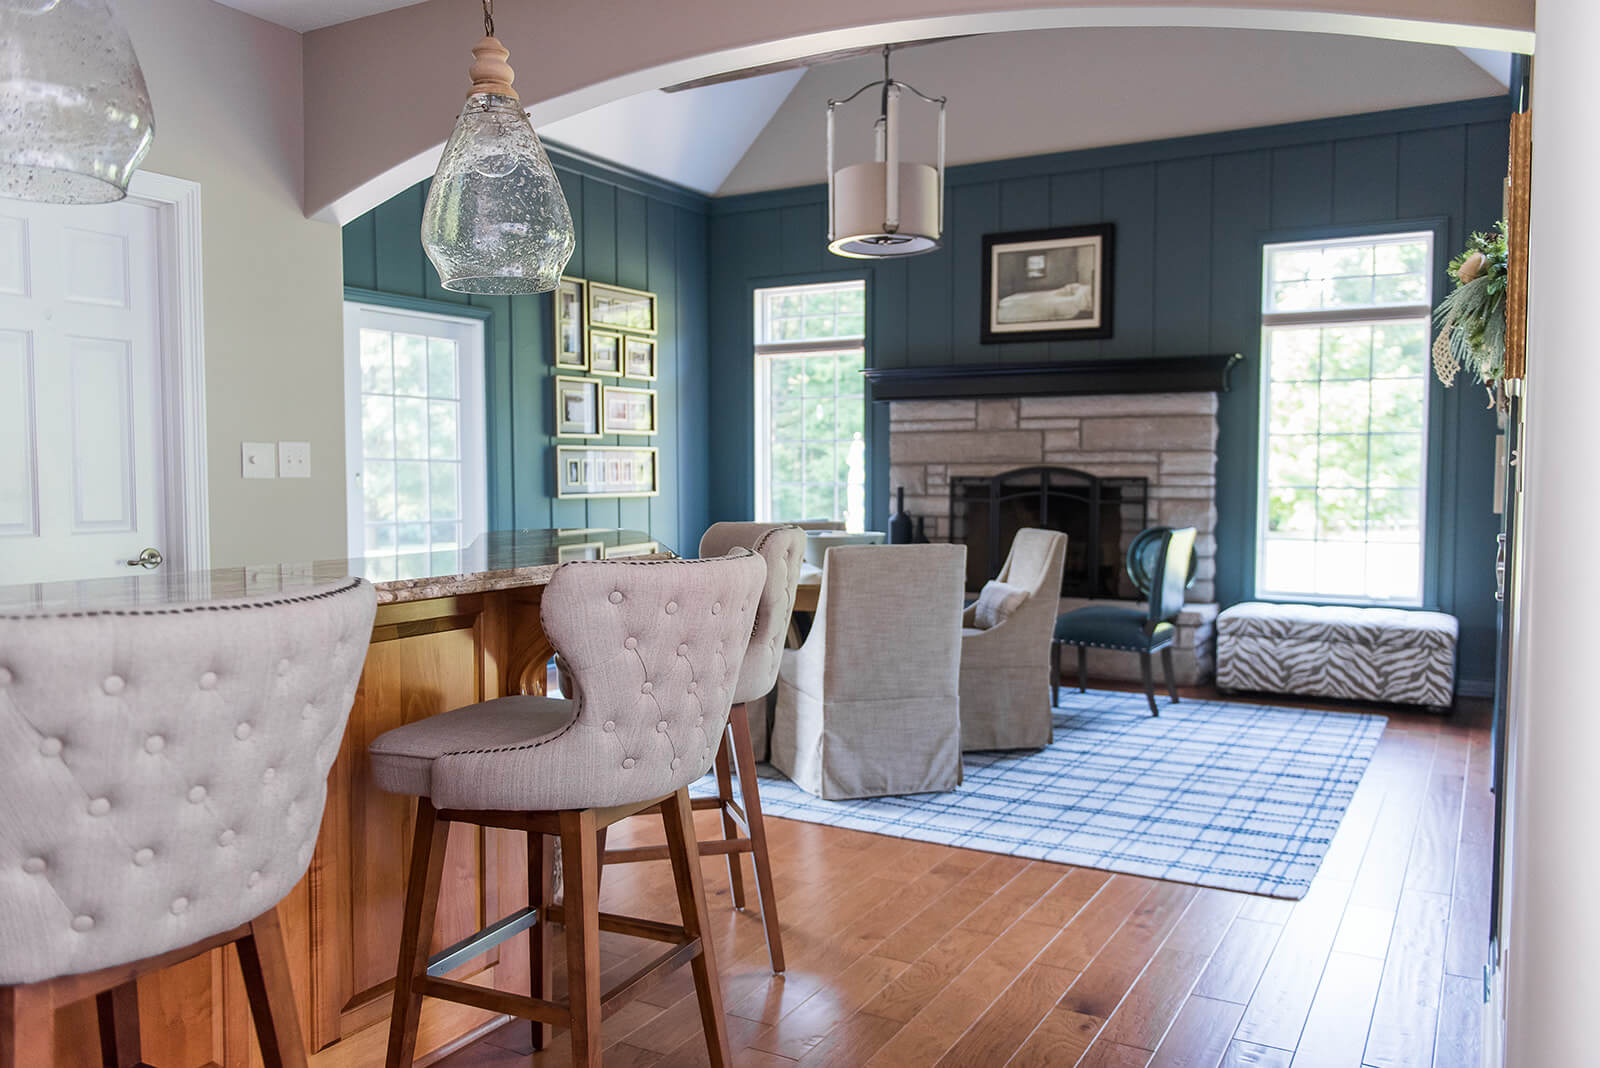
Repurpose or Remove? Remodeling Design Decisions
Interior Design: Everything Home Designs | Photo Credit: Sarah Shields

We explore design ideas big and small to maximize impact and investment with home renovation projects. Ready to chat creative solutions? Contact us to get the convo started!

Happy Home. Happy Life

Follow Everything Home Designs on Instagram for daily interior inspiration.

Living at Home During a Renovation

Living at Home During a Renovation

Deliveries, dust, disruption—the idea of living at home during a renovation can be daunting but it shouldn’t be a deal-breaker. Remodeling a home is a very exciting time, one that naturally brings on some stress. The long-term enjoyment you will get from your upgraded space will make the temporary inconveniences of renovation well worth it though. After seeing your design dreams come true, you’ll be wishing you did it sooner!

Planning is the key to many successes, including living at home during a renovation project. Below are some considerations for staying on schedule and minimizing discomfort while living around construction. 

Transparent Timelines

Before construction starts it is critical to establish and understand your home’s renovation timeline. You don’t want to be surprised by demo day! Knowing your design project manager’s construction timeline is as important as grasping the design vision. A timeline helps your family appropriately prepare the home for anticipated distraction and disruption—it also indicates an end is in sight with a targeted reveal day. Timelines should be shared transparently in a way that keeps everyone informed, from the homeowner to the help.

Staging, Scheduling, and Securing

Designate staging areas for storing building materials before supplies are delivered. A secure, dry location like an empty garage or outbuilding is usually best. This may require parking in the driveway or on the street while storing project materials. 

Share scheduling concerns with your design project manager, like preferred AM or PM working hours. If necessary, make sure gated entrances and lockboxes are accessible for those requiring entry. Communicate instructions for working around any animals in the house too.

You will also want to confirm with your insurance provider that your homeowner policy includes sufficient coverage for value added as a result of renovation. 

Prepping Work Zones

Confirm with your design project manager what precautions will be taken regarding dust-containment and floor protection. HVAC units that pull air through the house should also be considered, and filters should be added to returns. Floor coverings may need to be replaced periodically to maintain floor protection. Zip walls are best for room separation since they allow easy access from room to room when necessary. 

Route construction crews with a clear path to project zones. Paper or plastic floor coverings help guide foot traffic and keep things clean. Remove all wall hangings and decor accessories both on the path and in project zones. Securely cover furniture with painter’s plastic and bag all exposed linens and drapery. 

Ask your design project manager about their post-construction cleaning process. With all the demo and dust, a professional cleaner is a valuable addition to the reno budget.

Establishing Living Zones

Focus on cooking, bathing, laundering, and sleeping when it comes to evaluating your living conditions during renovation. These are the essentials! 

If your kitchen will be impacted, set up an alternate cooking space in the home if possible. Refrigerators generally can be relocated to a nearby room or the garage if electric is available. Ovens require special circuits and cannot be relocated as easily. Consider using a microwave or toaster oven instead. A sink or basin will be necessary for dishwashing. Organize a small box of kitchen utensils and disposable dinnerware to use for quick meal prep during construction. Dining out and meal delivery is a smart option too! 

Locate local laundry services to help with laundry if needed. Prepare to move to a guest bedroom and/or bathroom if renovation requires. Pack up only your most-needed clothing, accessories and cosmetics to bring along.

Power Through with Positivity

Nothing makes a renovation project run smoother than positivity! Think of the mess as progress. Stay motivated by the end result—a beautiful new space to enjoy for many years. Find activities to do outside of the home, especially if you have kids. Explore community parks and public spaces while out and about. 

Ready to see your house dreams come true? Let’s get renovating! We can help you from visioning to victory—contact us to learn more about the Everything Home difference. We’re more than designers, we’re experienced design project managers. A one-stop shop for your renovation needs! 

Happy Home. Happy Life

Setting A Home Renovation Budget

Design Rendering

Will setting a budget be the most fun part of your home renovation? Probably not. Will it be essential to the success of your project? Absolutely!

Every successful home renovation project starts with a realistic budget. The budget is the foundation for which all design decisions are built on. There are several factors to consider when setting a renovation budget — house goals, financing options, and anticipated improved home value are a few.

We’re here to guide you through some renovation budget basics:

Flip or Forever

Goals are always good! Know what yours are before you get started. When setting your renovation budget think about how long you plan to own the home. This really helps put a renovation project into perspective. Is this a house you plan to fix up and flip? If so, obviously you will want to set a smaller budget and prioritize projects accordingly to maximize equity. If this is your forever home, a bigger budget will help you to get exactly what you want so you can enjoy your investment over many years. 

Financing Options

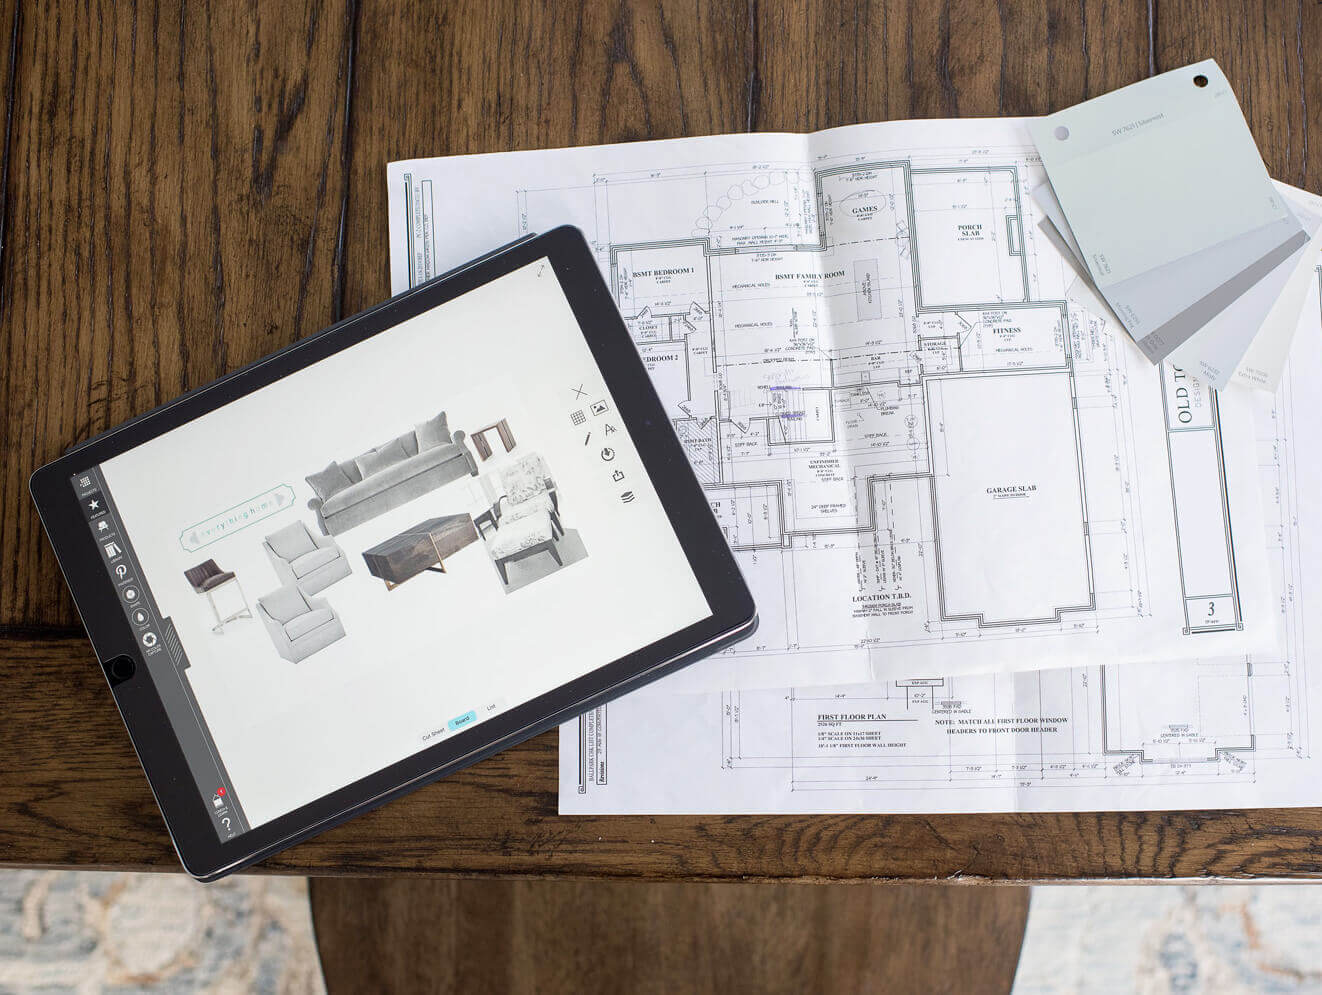
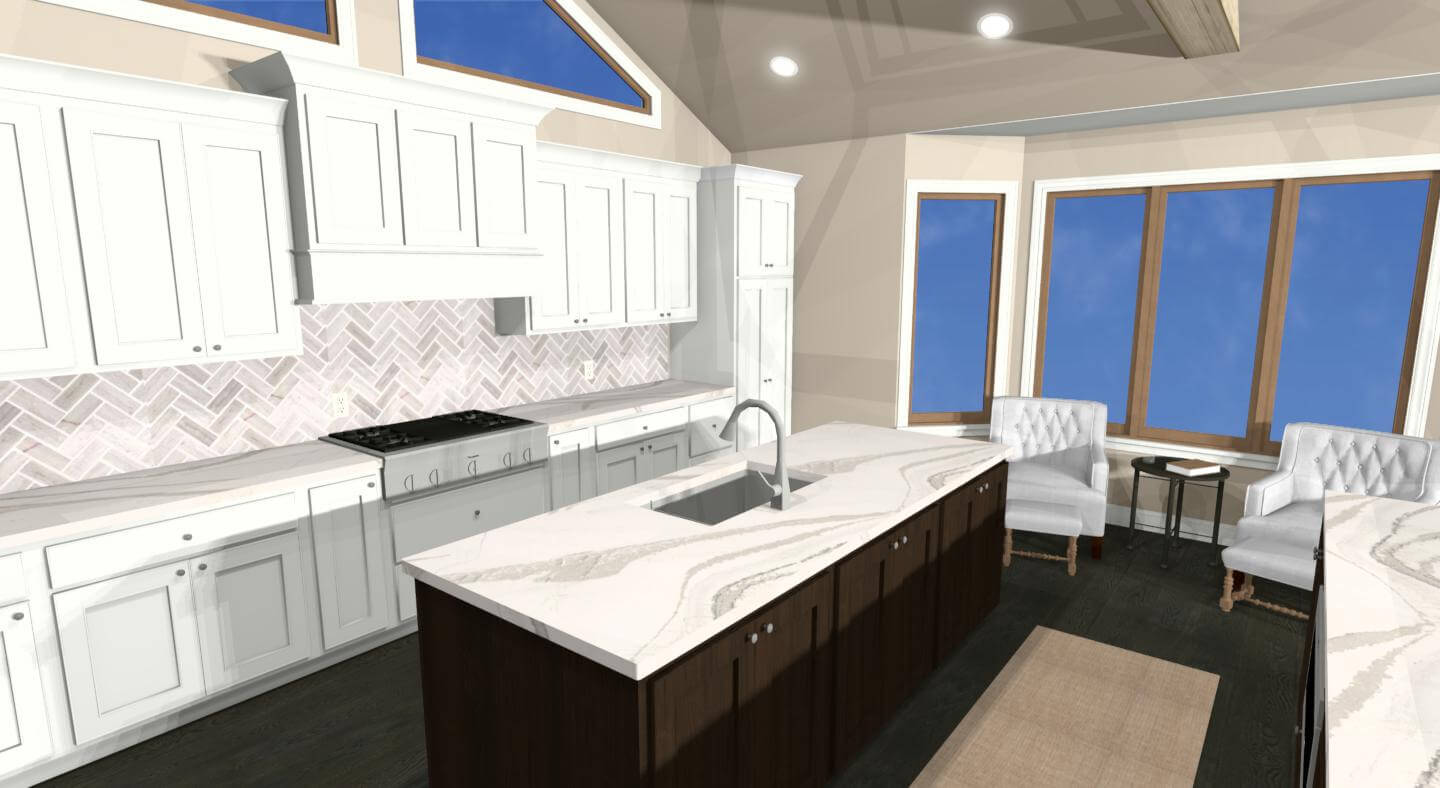
Self-funding a renovation project is an option for some, but not everyone. Financing a renovation project will depend on if you already own the home or are preparing to purchase the home. If you already own the home, a home equity loan or refinance are likely your best options. If you have yet to purchase the home a renovation mortgage loan that includes renovation funds tied to the improved value may be an option. Having a professional design rendering and plan of the renovation project handy when talking to lenders is helpful in securing the necessary financing to complete your renovation.

Design Rendering

Design Investments

Prioritizing a renovation project usually has a lot to do with resale value. Over-improving a home will ultimately lead to less equity or even a loss at resale. For many years, homeowners have received a great return on investment with kitchen and master bath remodels. Recently, outdoor living investments in covered porches and 3-season rooms have joined the list! New builds often include a covered outdoor gathering space as an extension of the living room. These spaces may include a seasonal mini-kitchen, bar seating, fireplace, and plenty of comfy lounge space. 

Buffer Budget

A buffer budget helps guarantee success and alleviate stress. Set aside extra money in your renovation budget for surprises — because we all know life is full of them. Most designers require a contingency budget (usually 5-10%), which works like a checkbook with any balance funds returned once the project is complete. If you are rolling renovation costs into your renovation mortgage loan include a buffer budget in your pre-approval request to avoid the need for additional financing after closing. 

Setting a home renovation budget

Experts Make it Easy

Working with an experienced designer can help you to prioritize your design goals, secure financing through partner lenders, invest wisely based on area norms, and ultimately maximize your budget. Hiring a professional to navigate a renovation project start-to-finish also helps to avoid costly mistakes and unnecessary setbacks. Experience pays off — an expert’s opinion is a valuable renovation tool. 

Imagine less worry, less work, and more wow! Everything Home’s experienced designers turn unique budgets into beautiful spaces every day. We would love to chat about your renovation project, schedule a quick phone consultation with our team here

Happy Home. Happy Life. 

Country Estate Home Transformation in Noblesville, Indiana 

Country Estate Transformation

Featured Renovator: The Lifestyle Group | Design Team: Everything Home Design | Photographer: Sarah Shields

Nestled in the woods on a former horse ranch in Noblesville, our client found the perfect place to enjoy their empty-nest years ahead. Full renovation was in order for a small dated home on the property, with a goal of transforming a segmented floor plan into a spacious open layout.

The challenge: create a large airy space for family gatherings while keeping things cozy for two. The results, stunning!

Country Estate Transformation
Photography by Sarah Shields
Country Estate Transformation
Photography by Sarah Shields

The Design Process

Everything Home provided design oversight and project management for all aspects of this home renovation in Noblesville, Indiana. Accuracy and adherence to design goals and concepts discussed with the client were paramount to the process.

To jumpstart this project our team created full home renovation plans using 3D software to help our client visualize their new home design. Virtual rendering tools help immerse clients in both the look and feel of their anticipated design, giving them confidence to proceed with their project worry-free.

All furnishings and finishes were specified and fulfilled by our team—providing our client with an exciting real-life reality TV design experience. Everything Home was contracted to fulfill this dream design from concept to completion, including furniture staging.

Functional Updates

Renovation through repurposing was key to this successful transformation. With a limited footprint, our team relocated and redesigned spaces to best accommodate client wishlist items.

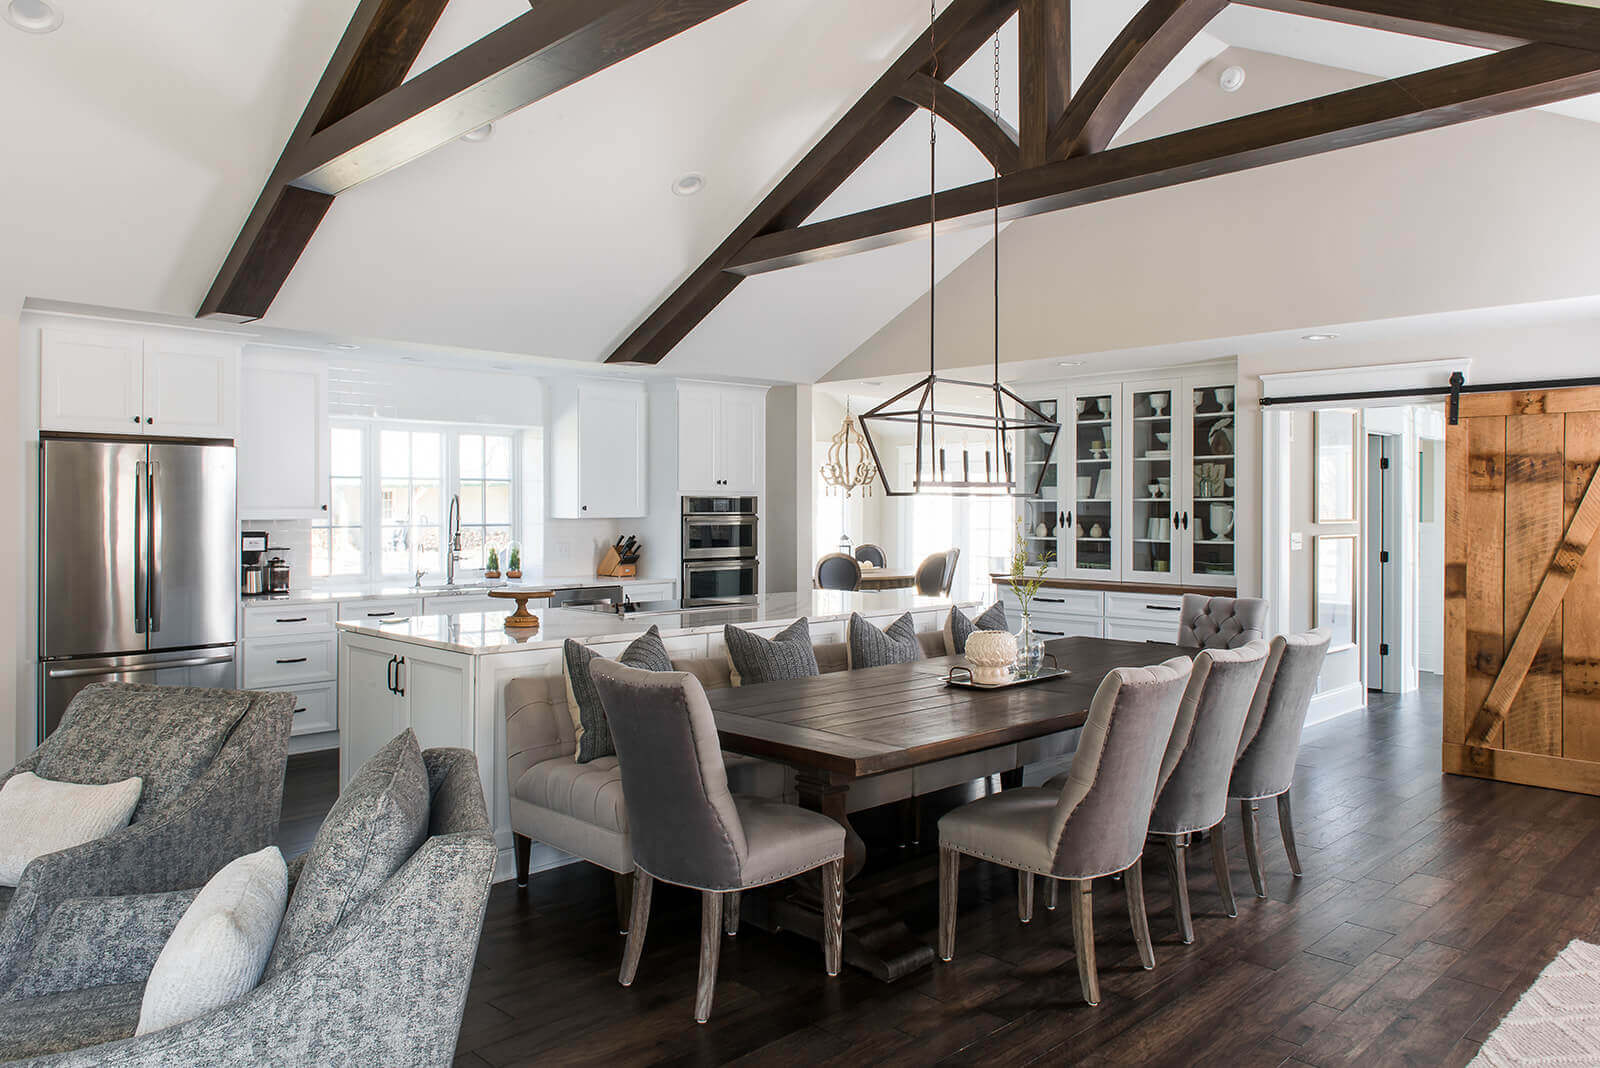
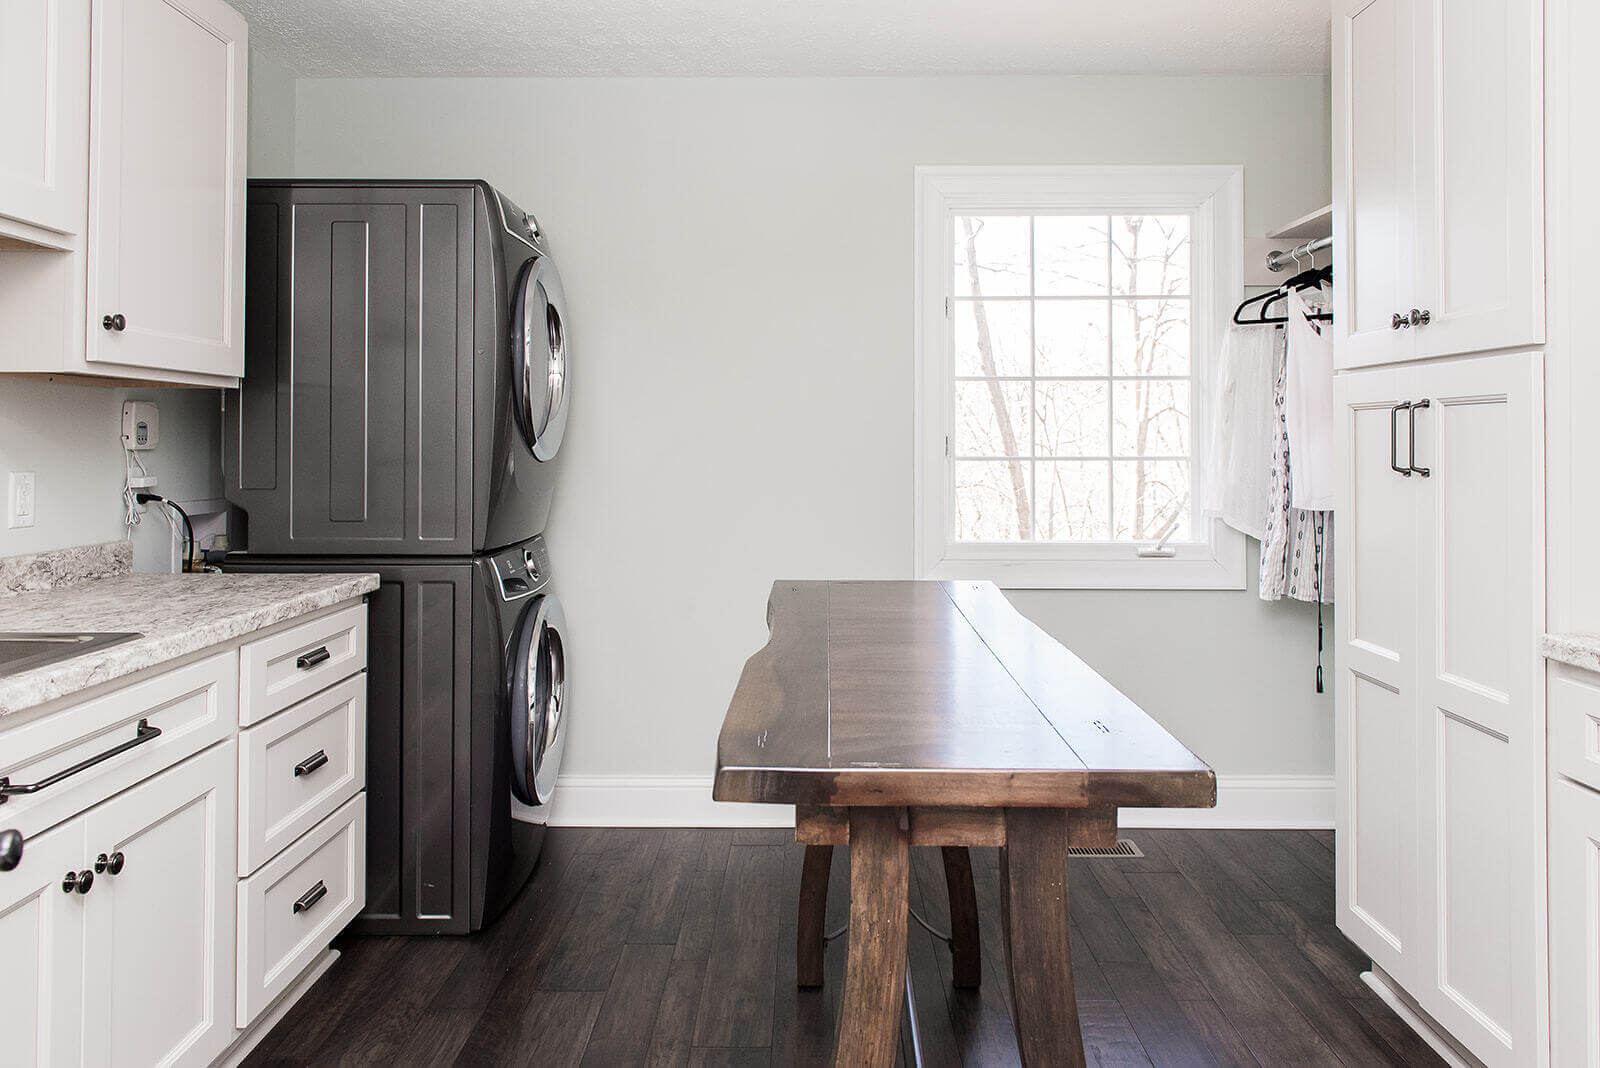
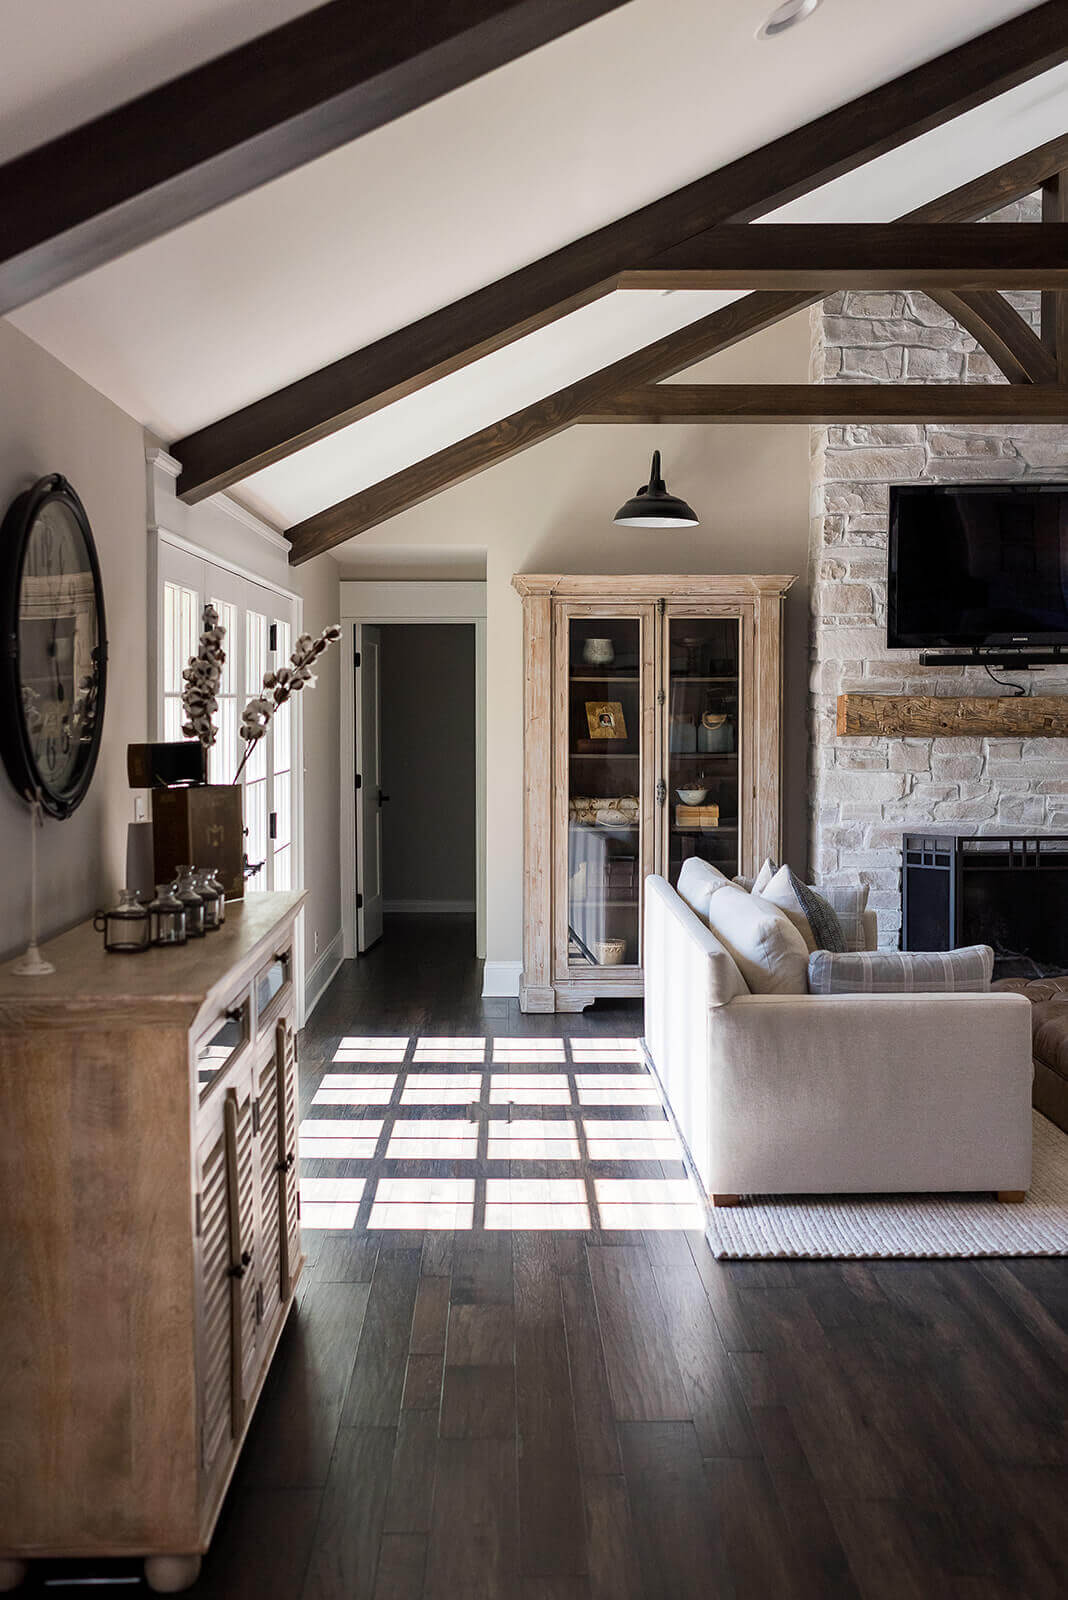
At the entry, a small cramped foyer was replaced with a grand entry boasting vaulted ceilings and stained trusses supporting sprawling open views through the home. A new “friend’s entry” was also created giving quick access to a mudroom and powder bath from what was formerly a full bath with laundry. Laundry service was relocated to a small extra bedroom, which was then outfitted with expansive storage and unique function.

Country Estate Transformation
Photography by Sarah Shields

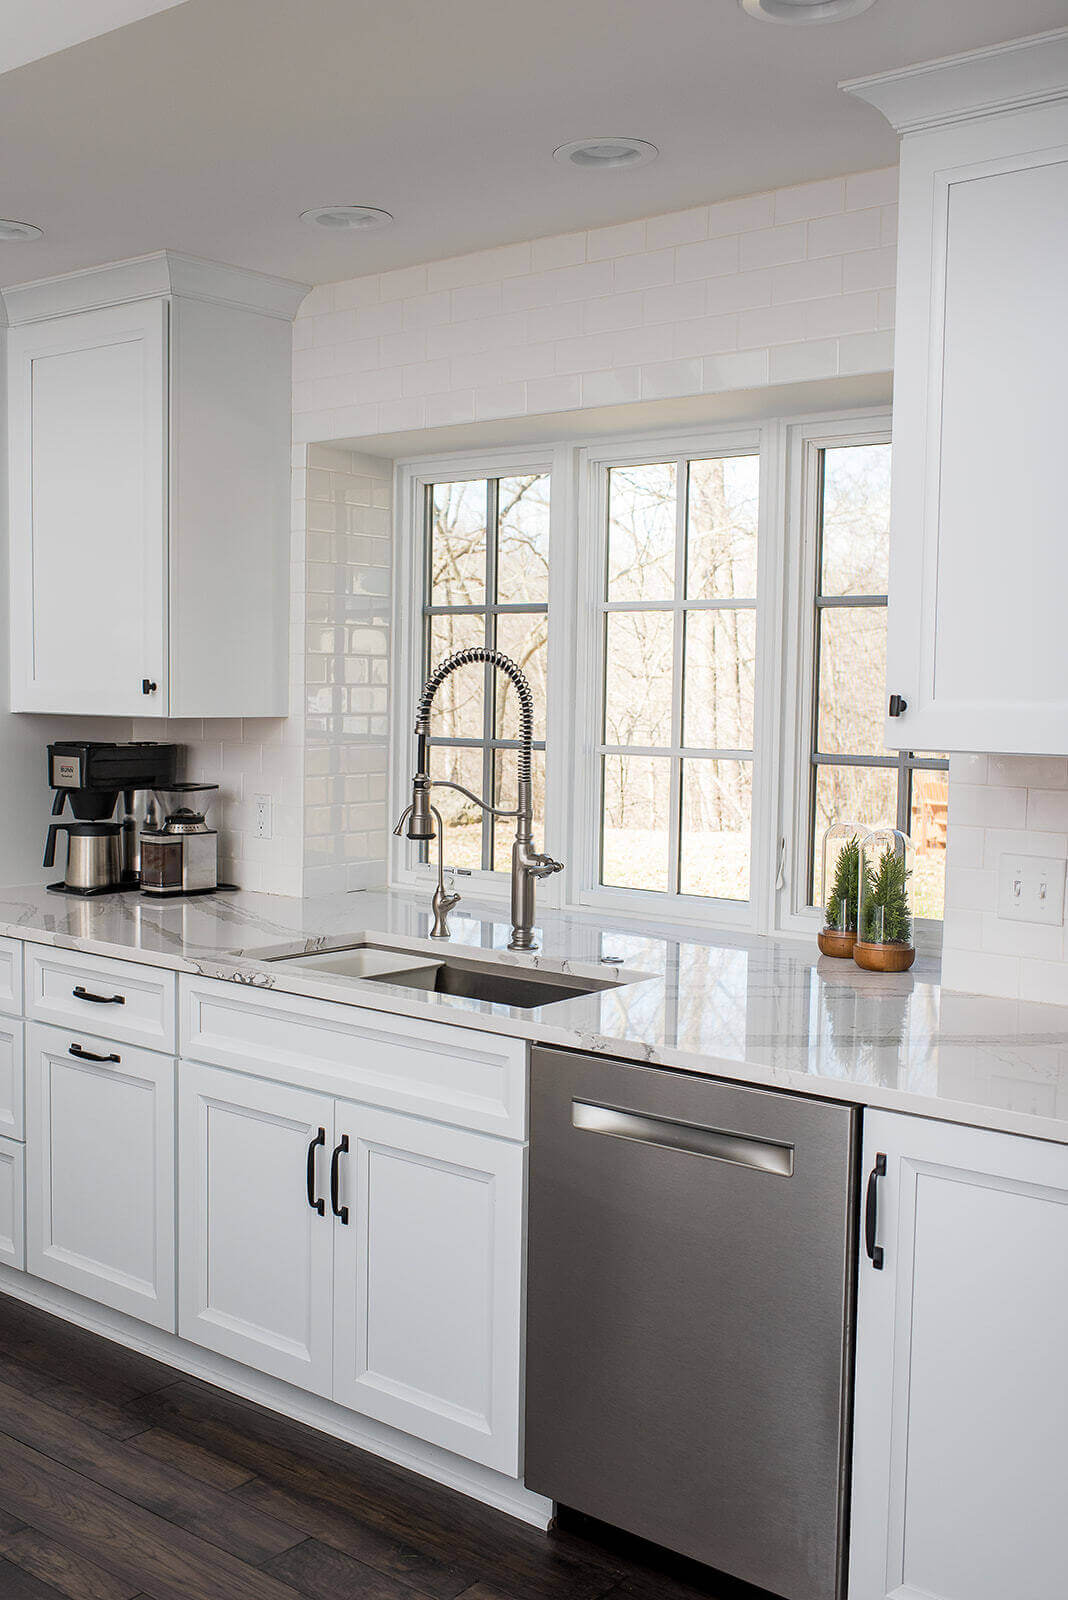
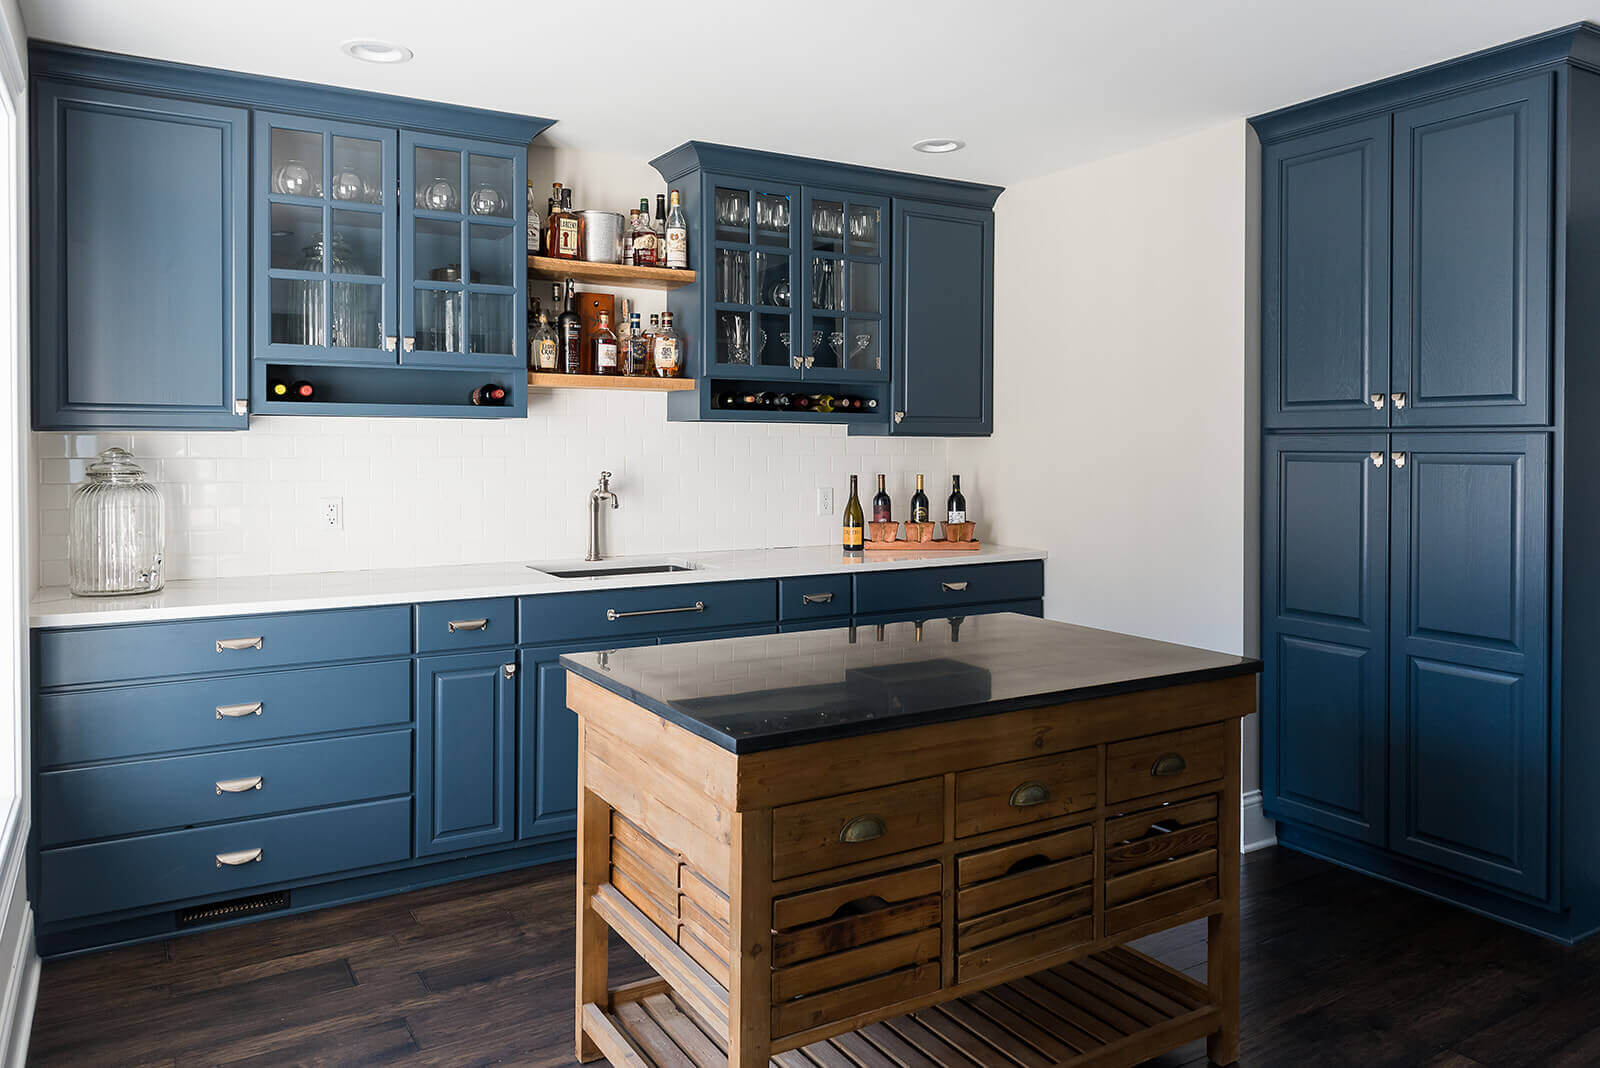
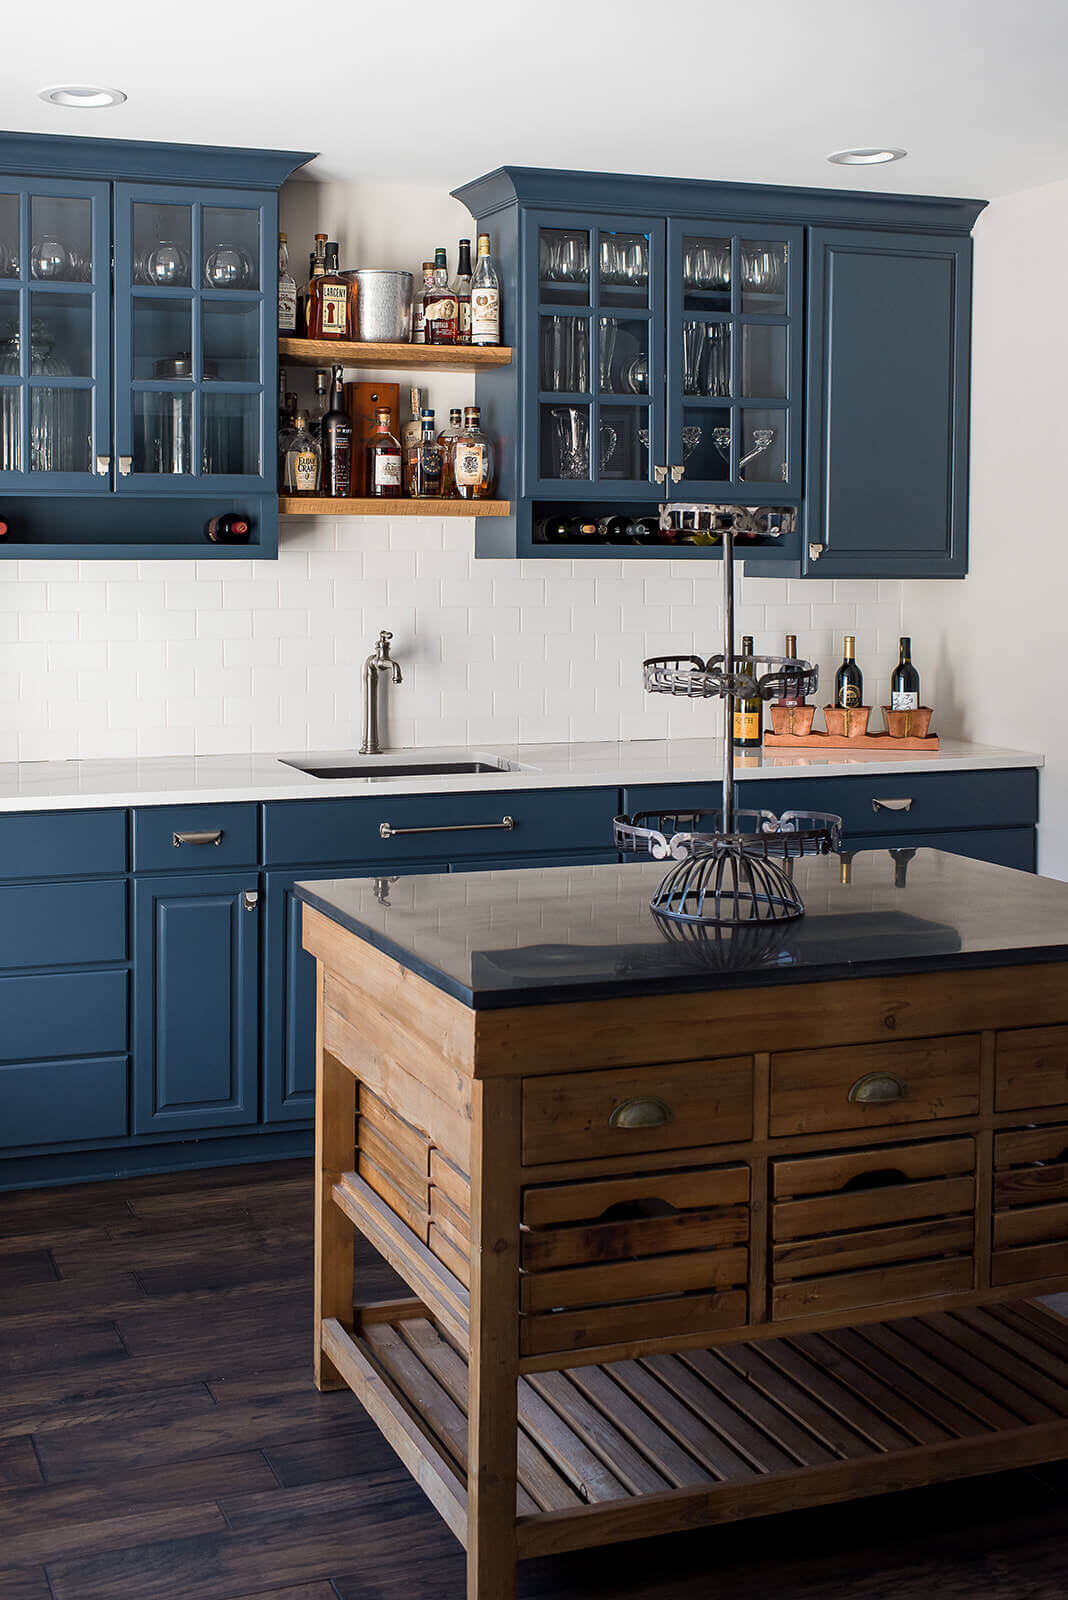
The kitchen was enlarged and reconfigured to include a large centered window framing a beautiful backyard view. Old kitchen cabinets were painted navy blue and repurposed for use in a newly created working butler’s pantry nearby—replacing an underused formal dining room. Dining space was added off the kitchen for more relaxed use.

Country Estate Transformation
Photography by Sarah Shields
Country Estate Transformation
Photography by Sarah Shields
Country Estate Transformation
Photography by Sarah Shields

Elevated Style

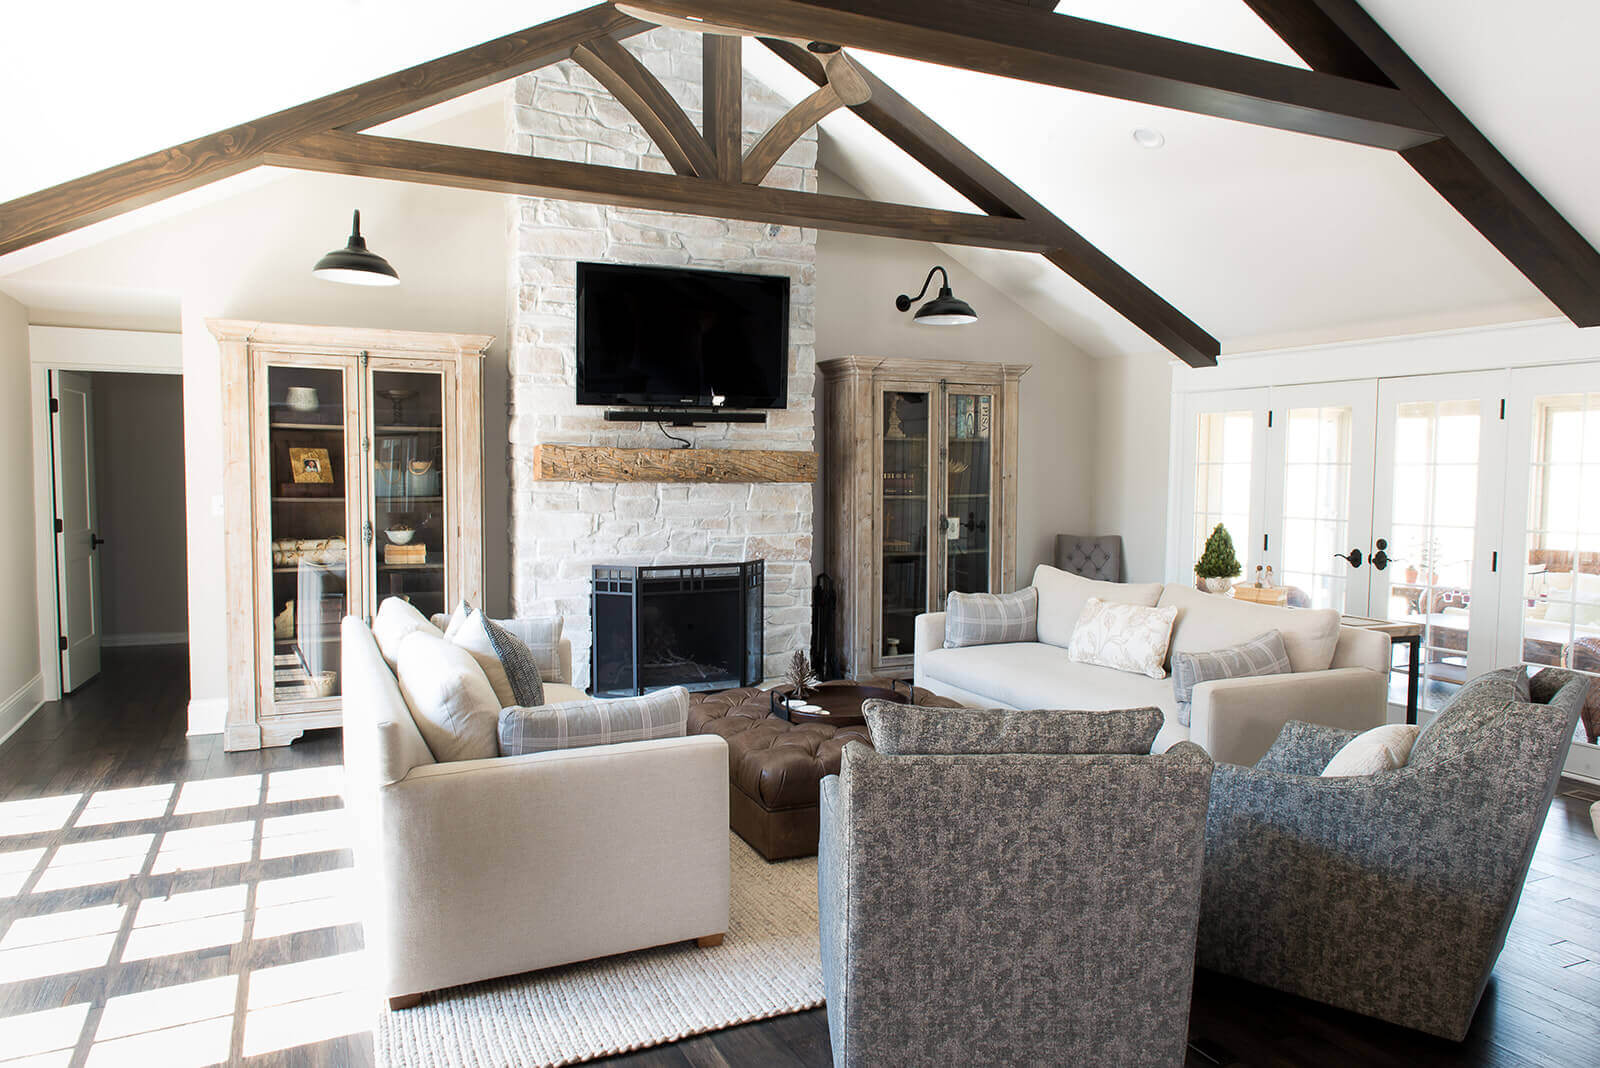
Some favorite style upgrades include the whitewashed existing stone fireplace, giving modern appeal while maintaining original character. Also, a local artisan was contracted to craft a custom mantle, barn door, countertop, and floating shelves from locally sourced reclaimed wood.

Country Estate Transformation
Photography by Sarah Shields

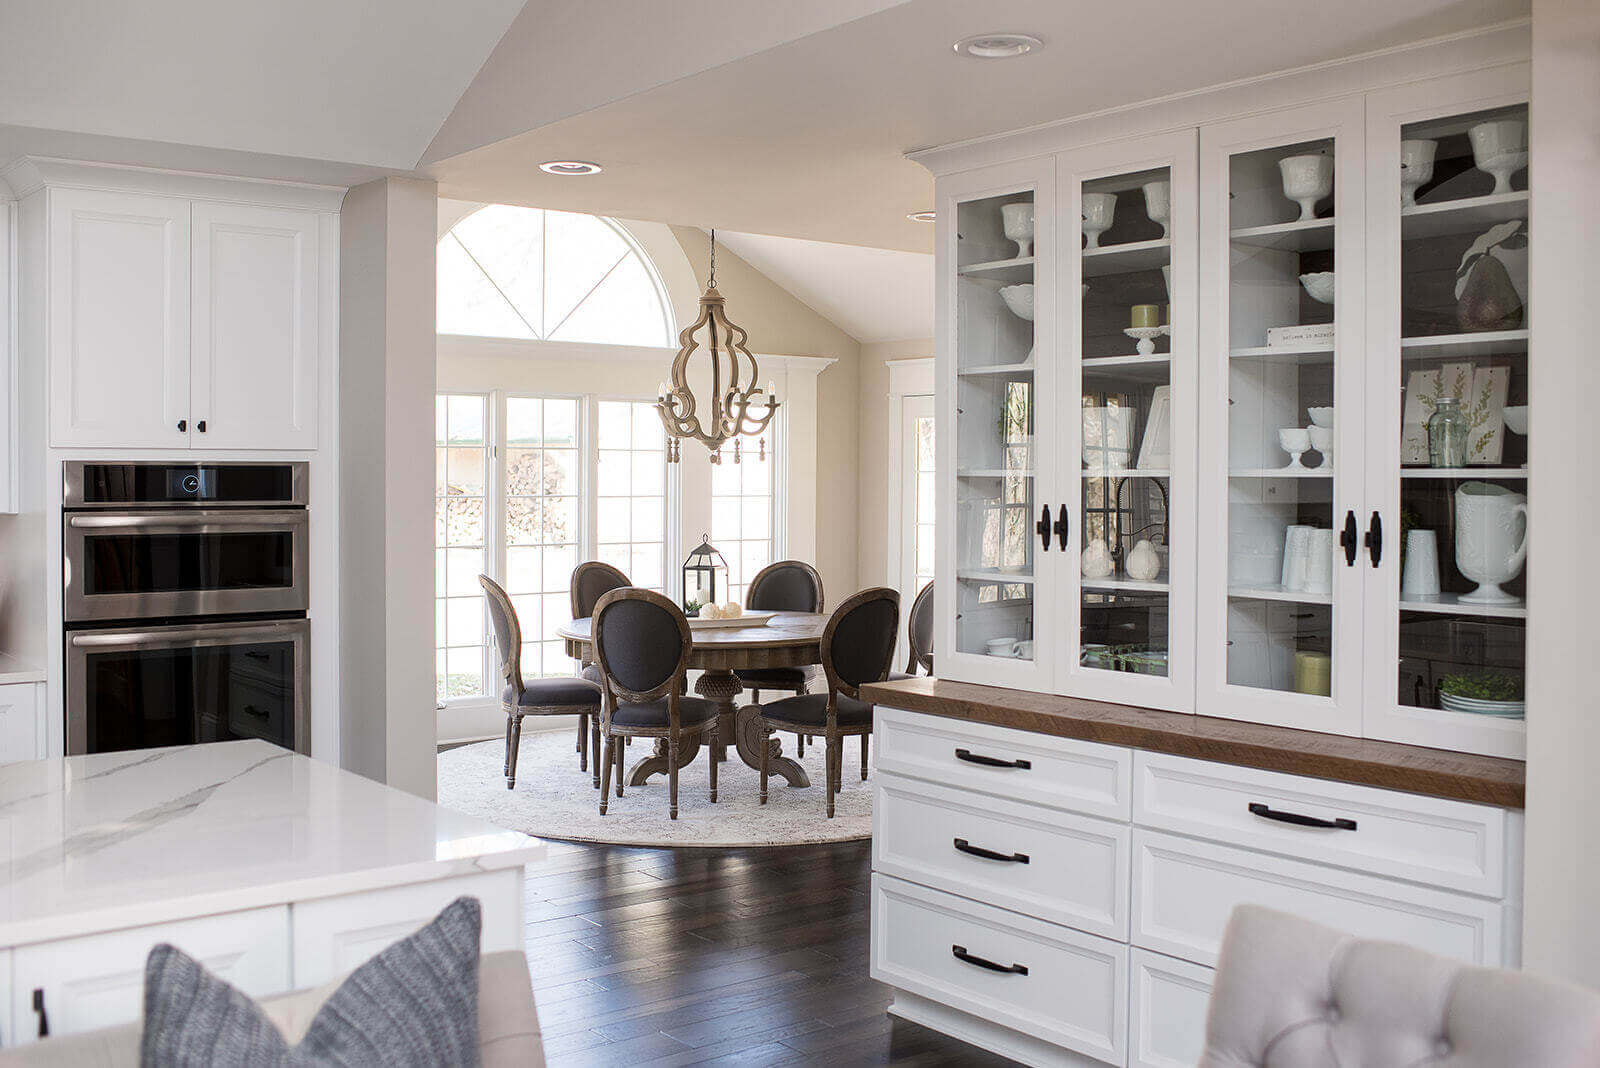
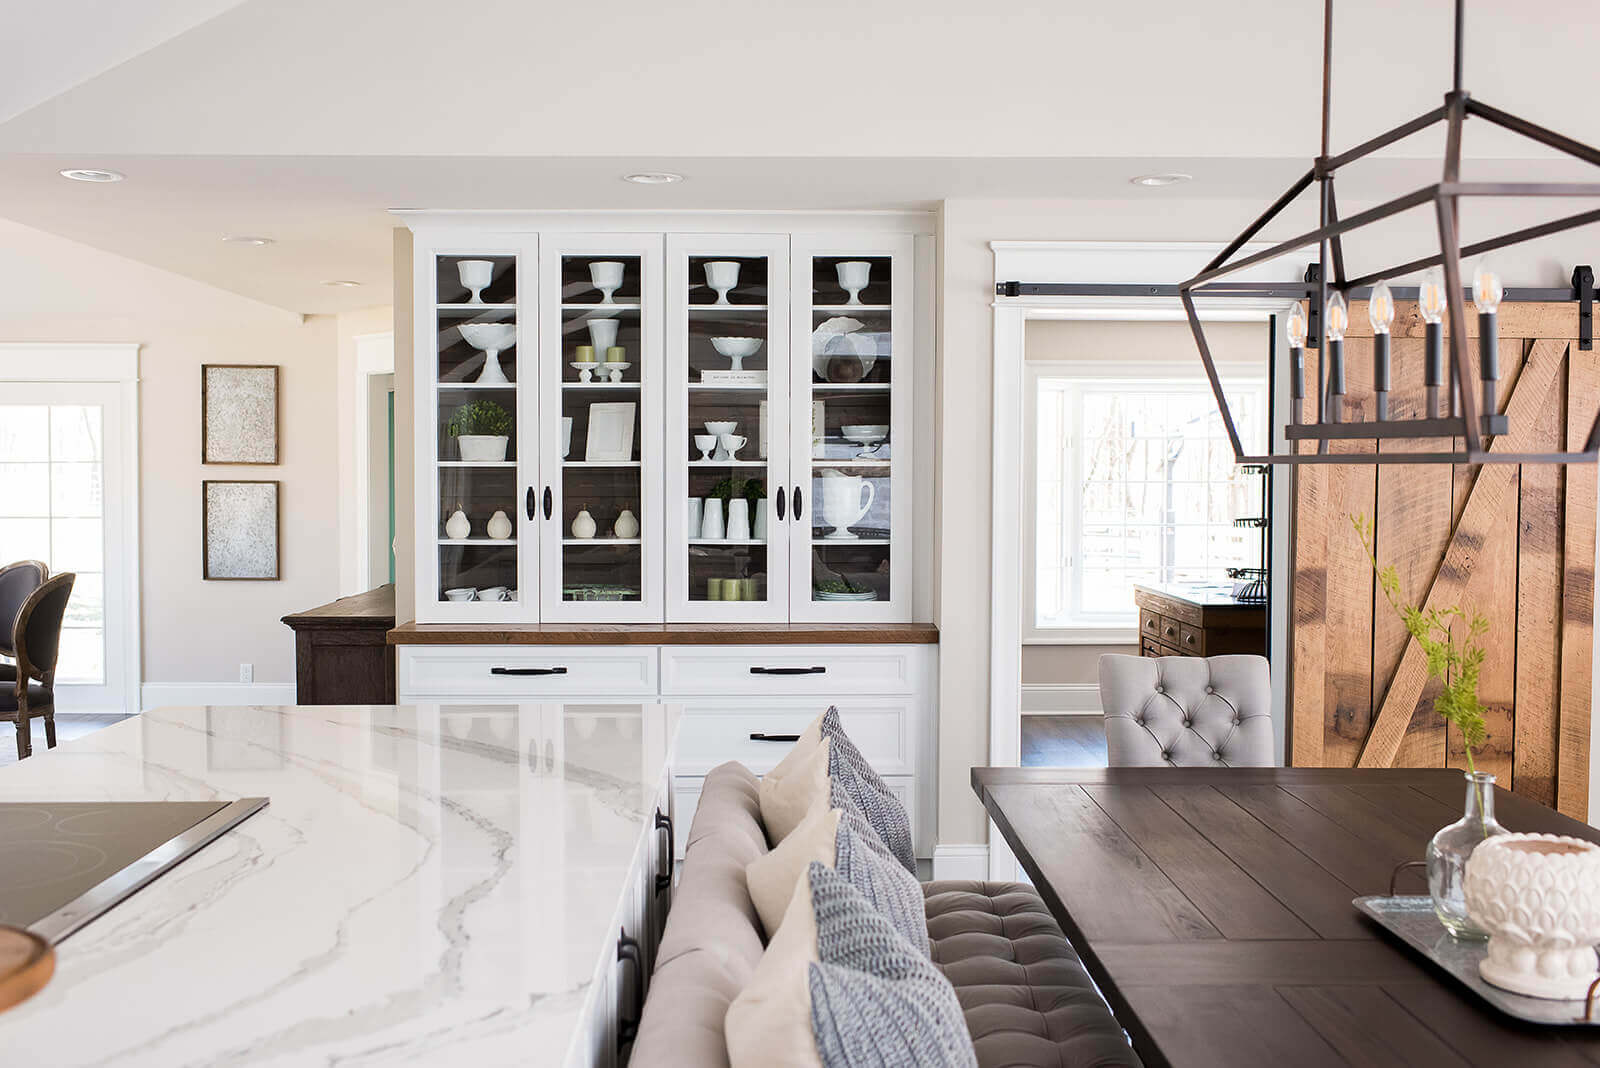
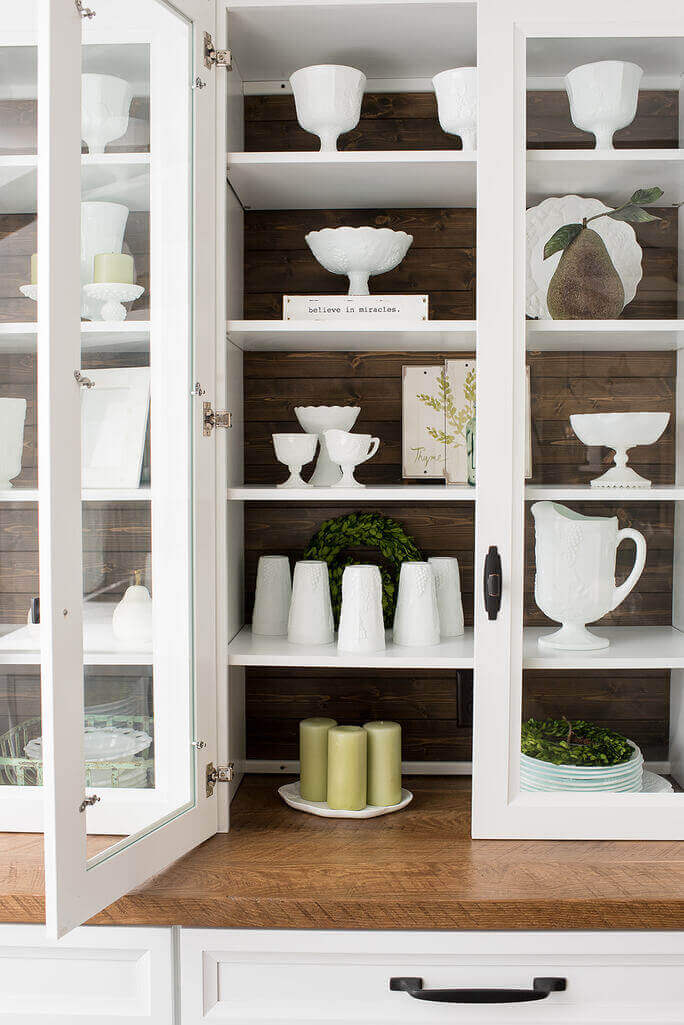
The new kitchen features a white hutch cabinet with stained shiplap interior and LED lighting to spotlight the client’s charming milk glass collection. The large kitchen island also supports a move-able upholstered banquette with storage for larger kitchen appliances and other items.

Country Estate Transformation
Photography by Sarah Shields
Country Estate Transformation
Photography by Sarah Shields

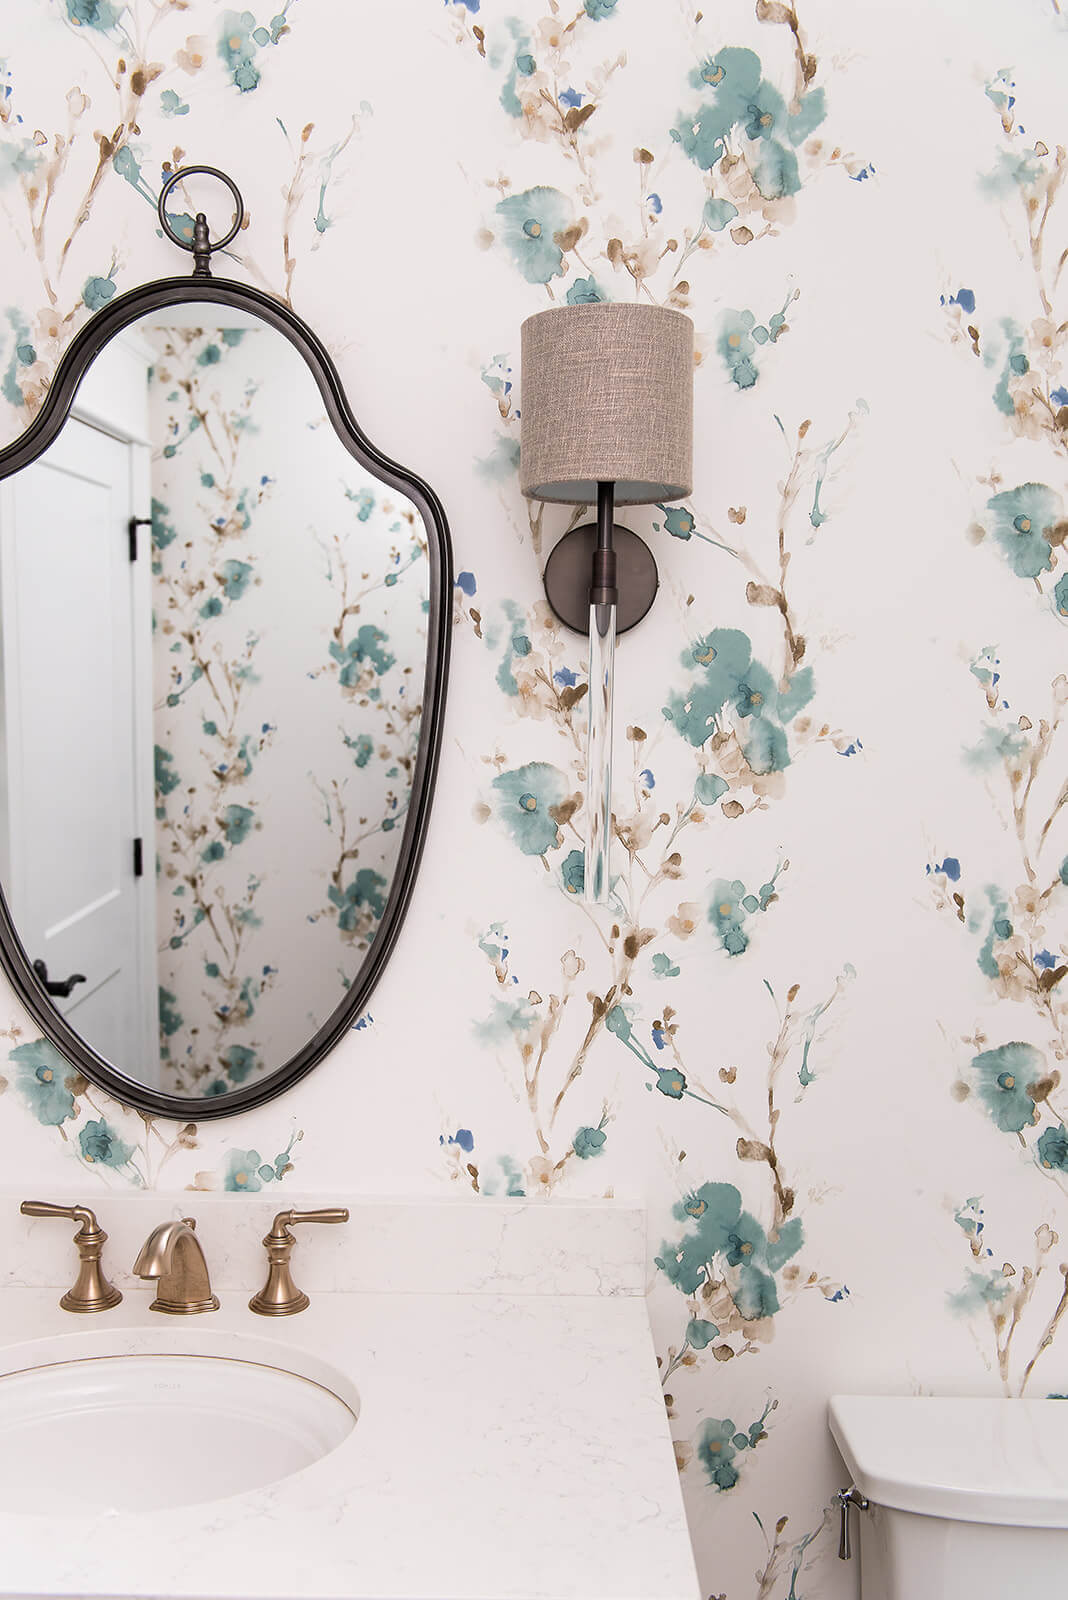
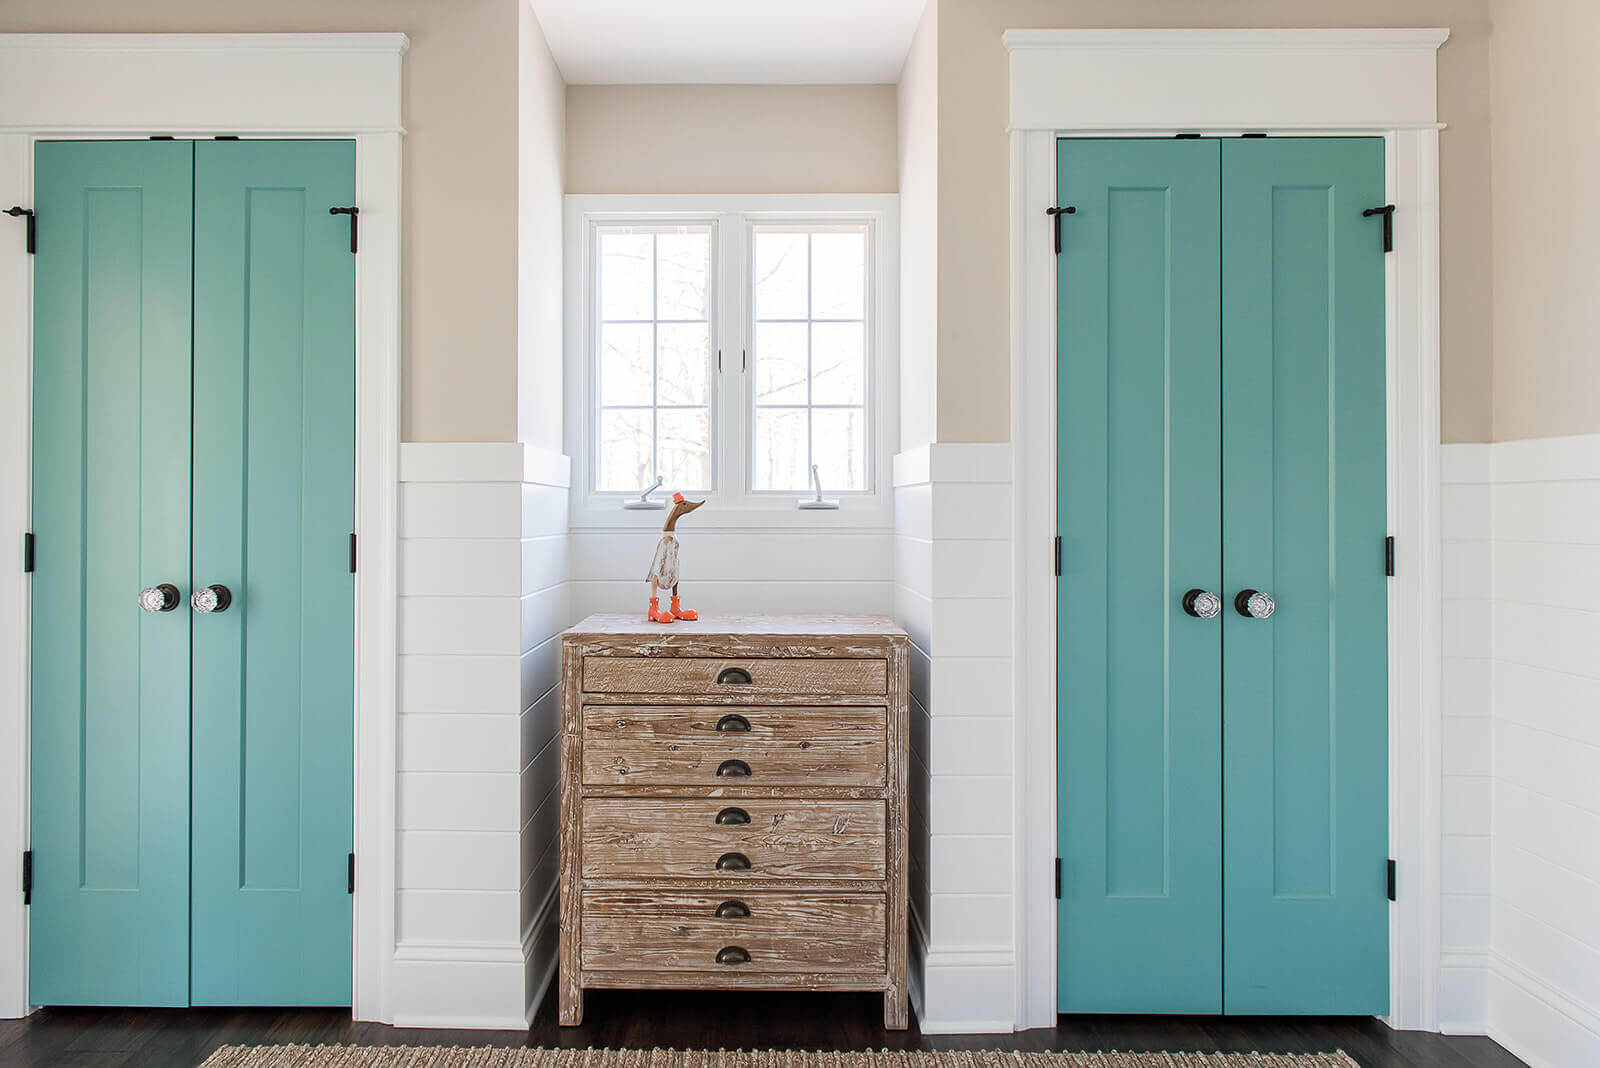
Strategic pops of color, from aqua closet doors to whimsy wallpaper in the powder room, are fun elements in the design. Printed wall tile in the bathtub surround is another standout selection. Gorgeous textures of wood, metal, glass, stone, and linen used throughout the home mimic its natural setting.

Country Estate Transformation
Photography by Sarah Shields
Country Estate Transformation
Photography by Sarah Shields

View more photos of this project here

Renovate and relax, with an experienced design professional leading the way. Everything Home helps design dreams come true! We would love to hear about your exciting home goals, contact us to learn more about our superior award-winning design services.

Kitchen Cabinet Considerations

Kitchen Cabinet Considerations

We’ve all seen images that make us swoon on social media, bold beautiful kitchen cabinets, dapper hardware, sleek open shelving—but what about function. Did they nail that too?

The idea of marrying style and function is paramount when it comes to kitchen cabinets, and that is where guidance from an experienced designer dominates. When it comes to kitchen cabinets, there is so much to consider. We’re sharing some of our valuable kitchen cabinet knowledge.

Kitchen Cabinet Considerations
Interior Design: Everything Home Designs | Photo Credit: Sarah Shields

Budget Basics

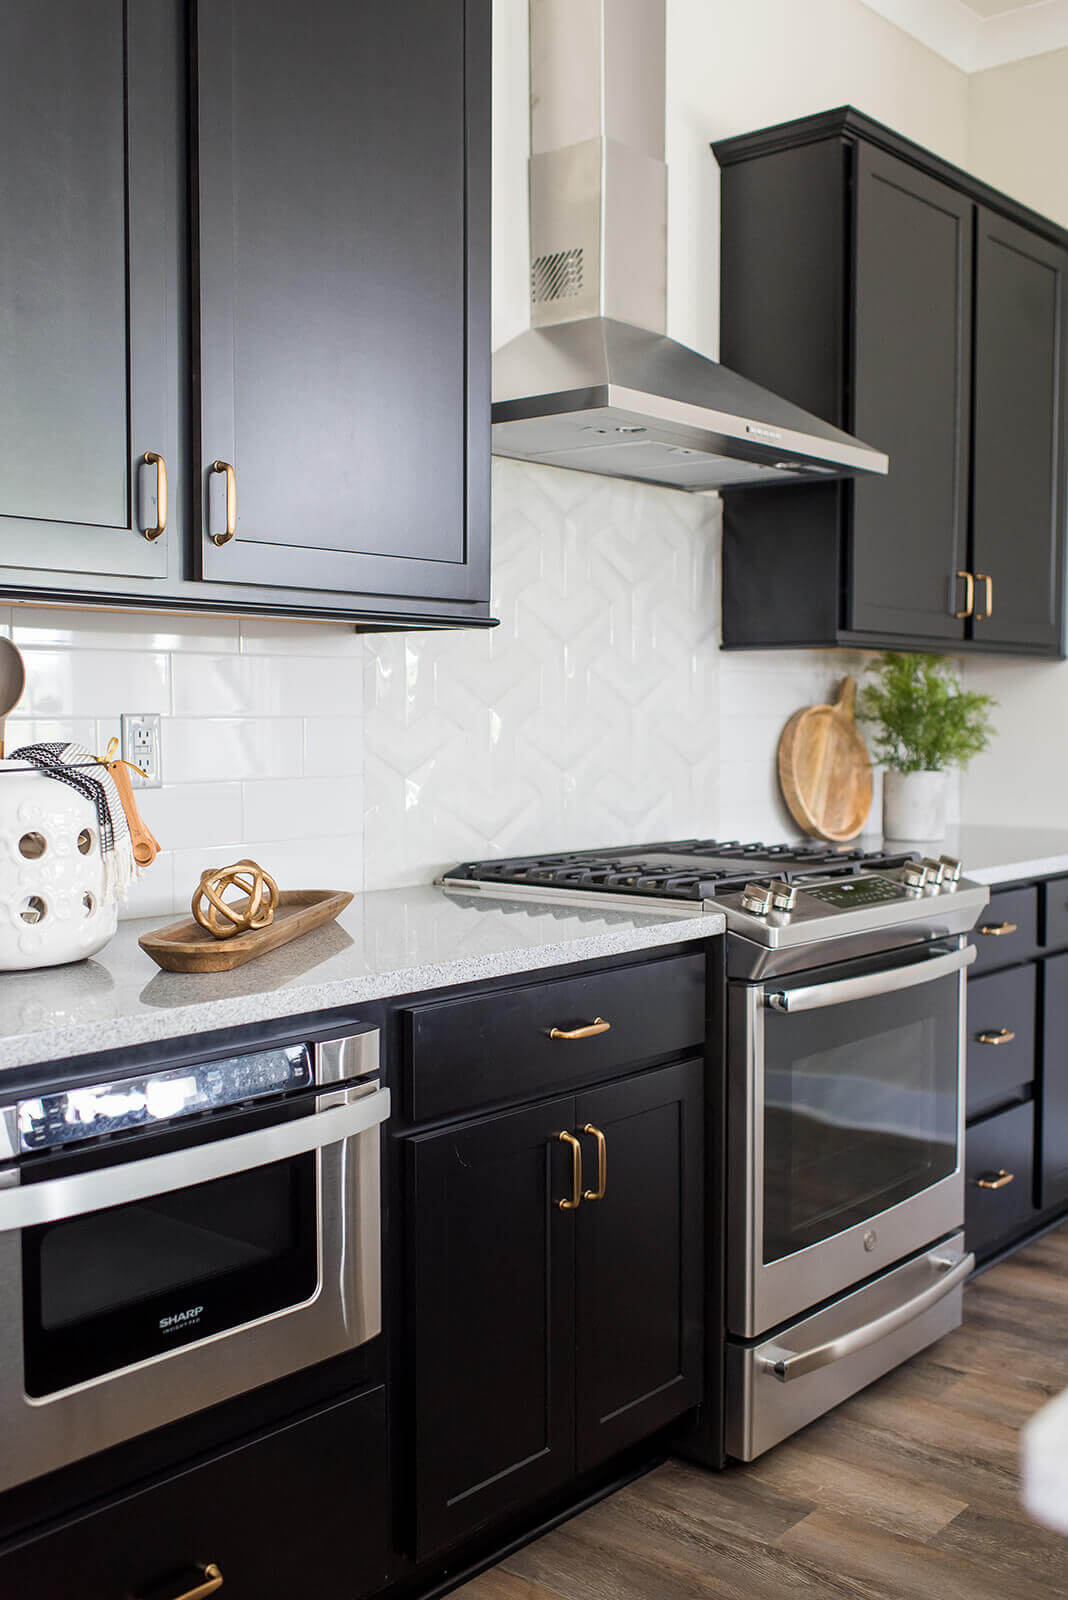
Cabinetry is often the most expensive element of a kitchen build or remodel, but also the most used. Typical cabinet installations range from $11k-40k depending on the details. Cabinet brand, door style, material type, overlay, and height all greatly affect the budget.

Material Type: Door and box construction is available in MDF and/or wood. MDF is made of thin panels of wood fiber mixed with resin and wax. It is more affordable than wood but less durable.

Inset and Overlay Options: Inset cabinet doors are set into the door frame, giving a uniform cabinet face appearance, which usually comes at an upgraded price. Full overlay doors cover the cabinet face completely and are usually less costly compared to inset doors. Partial overlay cabinets are the most affordable option with smaller doors exposing some of the cabinet face.

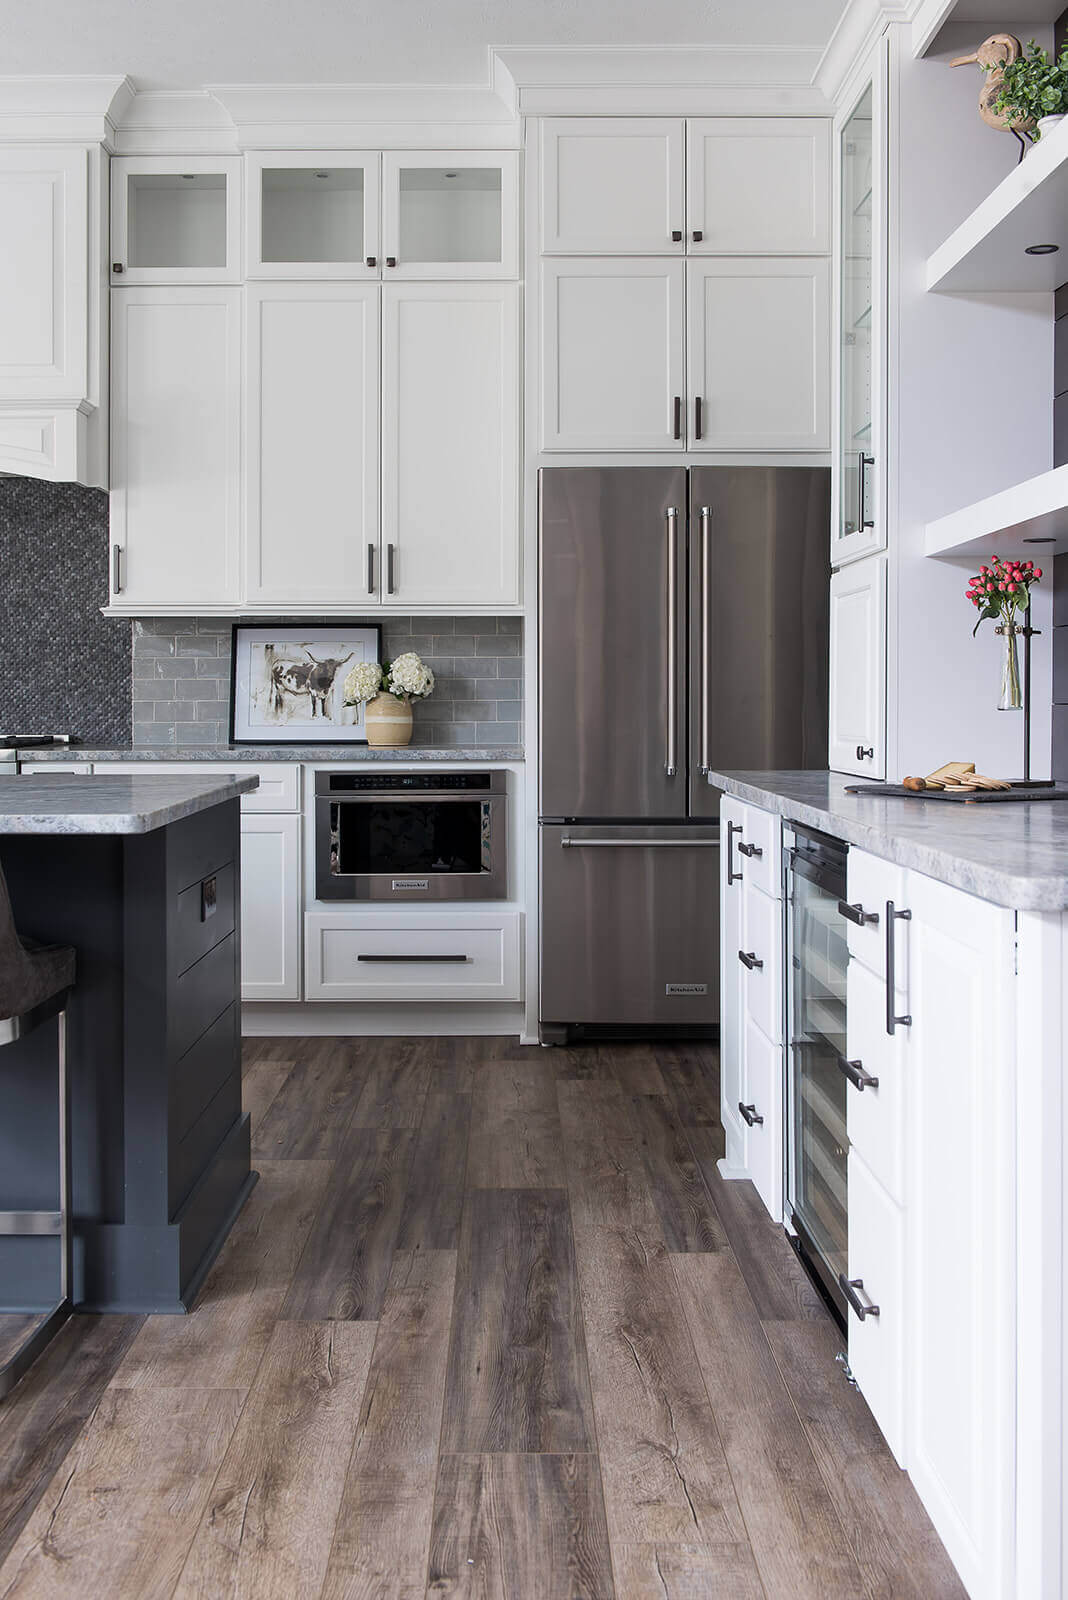
Height Matters: Full-height cabinets require a fuller budget. Ceiling height cabinets will cost more than 7’ standard height cabinetry.

Kitchen Cabinet Considerations
Interior Design: Everything Home Designs | Photo Credit: Sarah Shields

You can save time and money by leaving appliance footprints in place when redesigning cabinetry layouts. Doing so avoids the need to run new utilities. Salvaging some or all of your existing cabinetry and refinishing it is another budget-friendly option to consider.

Learn the Lingo

Seasoned designers are able to navigate quality cabinets that offer the most value regardless of their box, semi-custom, or custom label. It sometimes takes a refined eye and brand experience to know the difference, but we think all are viable options. Mixing and matching of box, semi-custom, and custom cabinetry is also something to contemplate when trying to maximize a small budget.

Box Cabinetry ($): Focused offering of cabinets, usually available in 3” increments. Typically the best sellers in terms of color, door style, and size are in-stock and available with quick turnaround. Good, better, and best options are often available–a designer eye can help navigate the best value. Advantages include lifetime warranties, affordability, and availability. Can be customized with after-market hardware.

Semi-Custom Cabinetry ($$): More options than boxed cabinets, wider range of door style and color availability. Usually available in 1/4” increments. Custom looks with quicker construction turn around then some fully custom options. Special accessories available.

Custom Cabinetry ($$$): Fully customizable for unique sizing requirements and space limitations. Color-matching and specialty finish options available. Non-standard heights and depths achievable to accommodate large storage items like serving dishes.

Kitchen Cabinet Considerations
Interior Design: Everything Home Designs | Photo Credit: Sarah Shields

Favorite Features

Let’s start with the must-haves—dovetail construction for durability, soft-close doors and drawers for ease, concealed roll-out trash receptacles, and 3/4” shelving to avoid sagging from heavy dishes. When it comes to splurge-worthy additions consider—roll-out trays, drawers over doors for pots and pans, cutlery dividers, plate pegs for fragile wares, sheet pan dividers, built-in knife blocks and utensil jars, organized spice storage, and an “appliance garage” for off the counter appliance storage. These features are available in all types of cabinets (box, semi-custom and custom), a designer can guide you towards the best options for your space.

Selecting a Style

Start by connecting your cabinet style to the rest of your house by finding inspiration in neighboring rooms. Then create pin boards of your favorite kitchen fashion and cabinet functions to envision a style profile. Present these mood boards as visual cards when working with a designer. Co-collaborate to establish a harmonious design that embodies both desired style and function.

Kitchen Cabinet Considerations
Interior Design: Everything Home Designs | Photo Credit: Sarah Shields

Zoning In

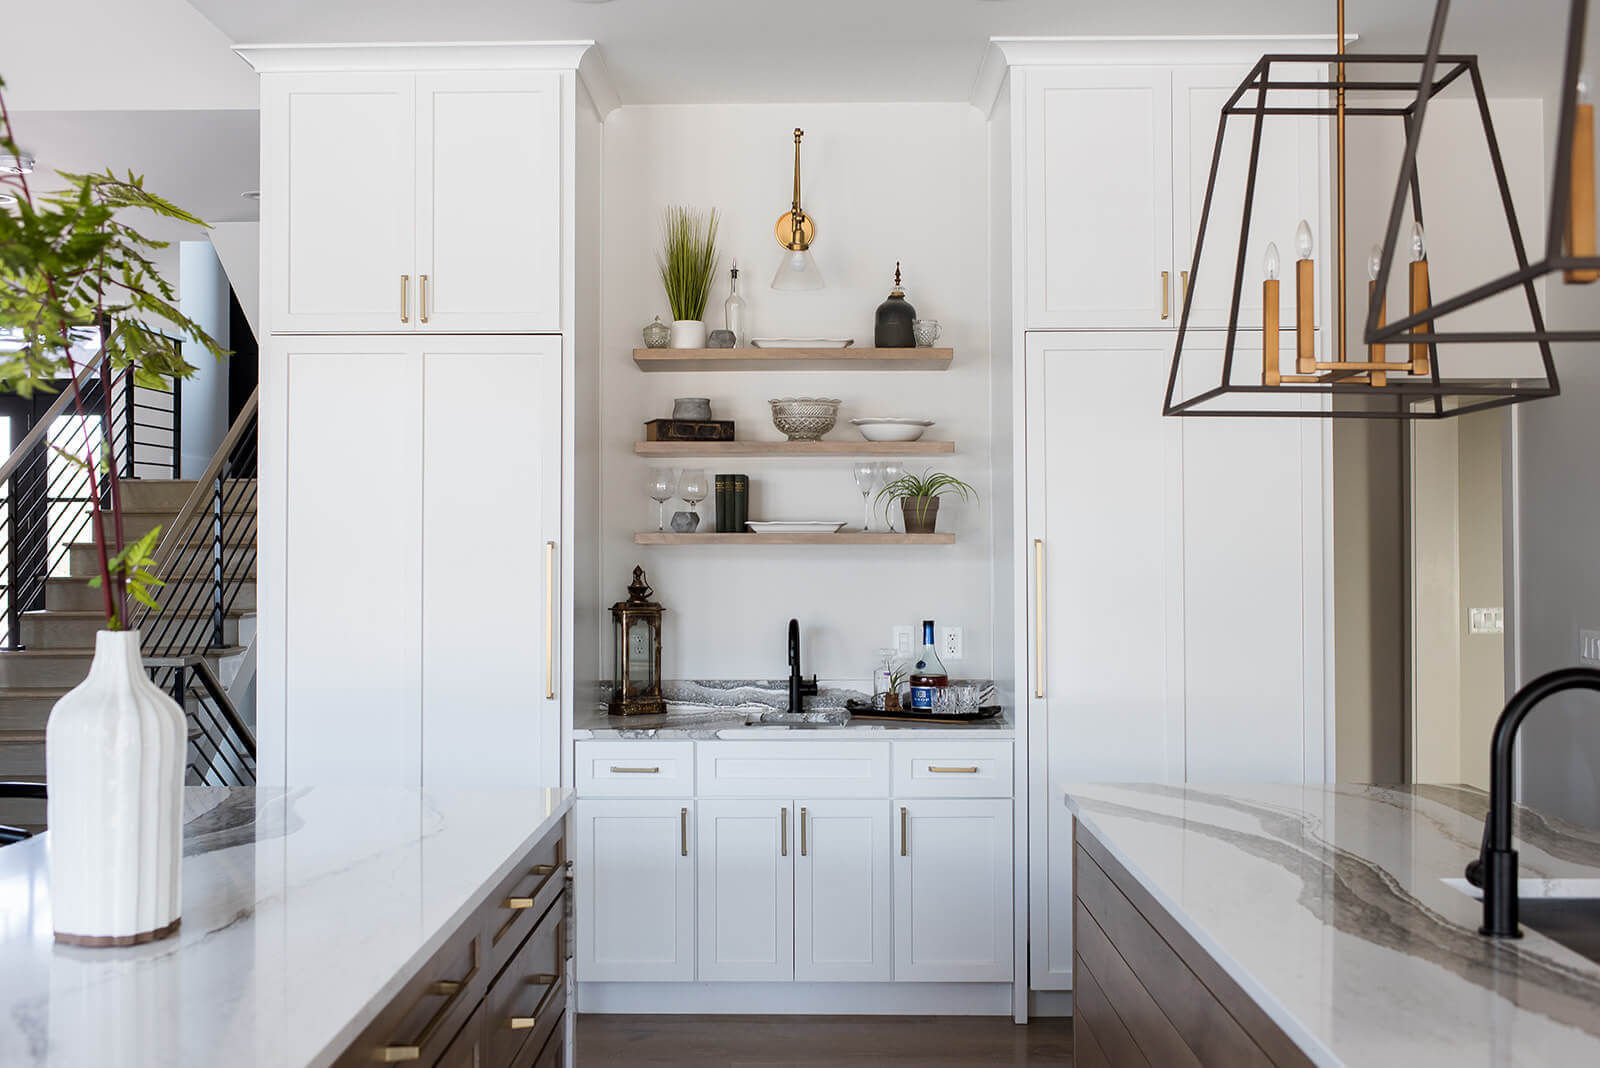
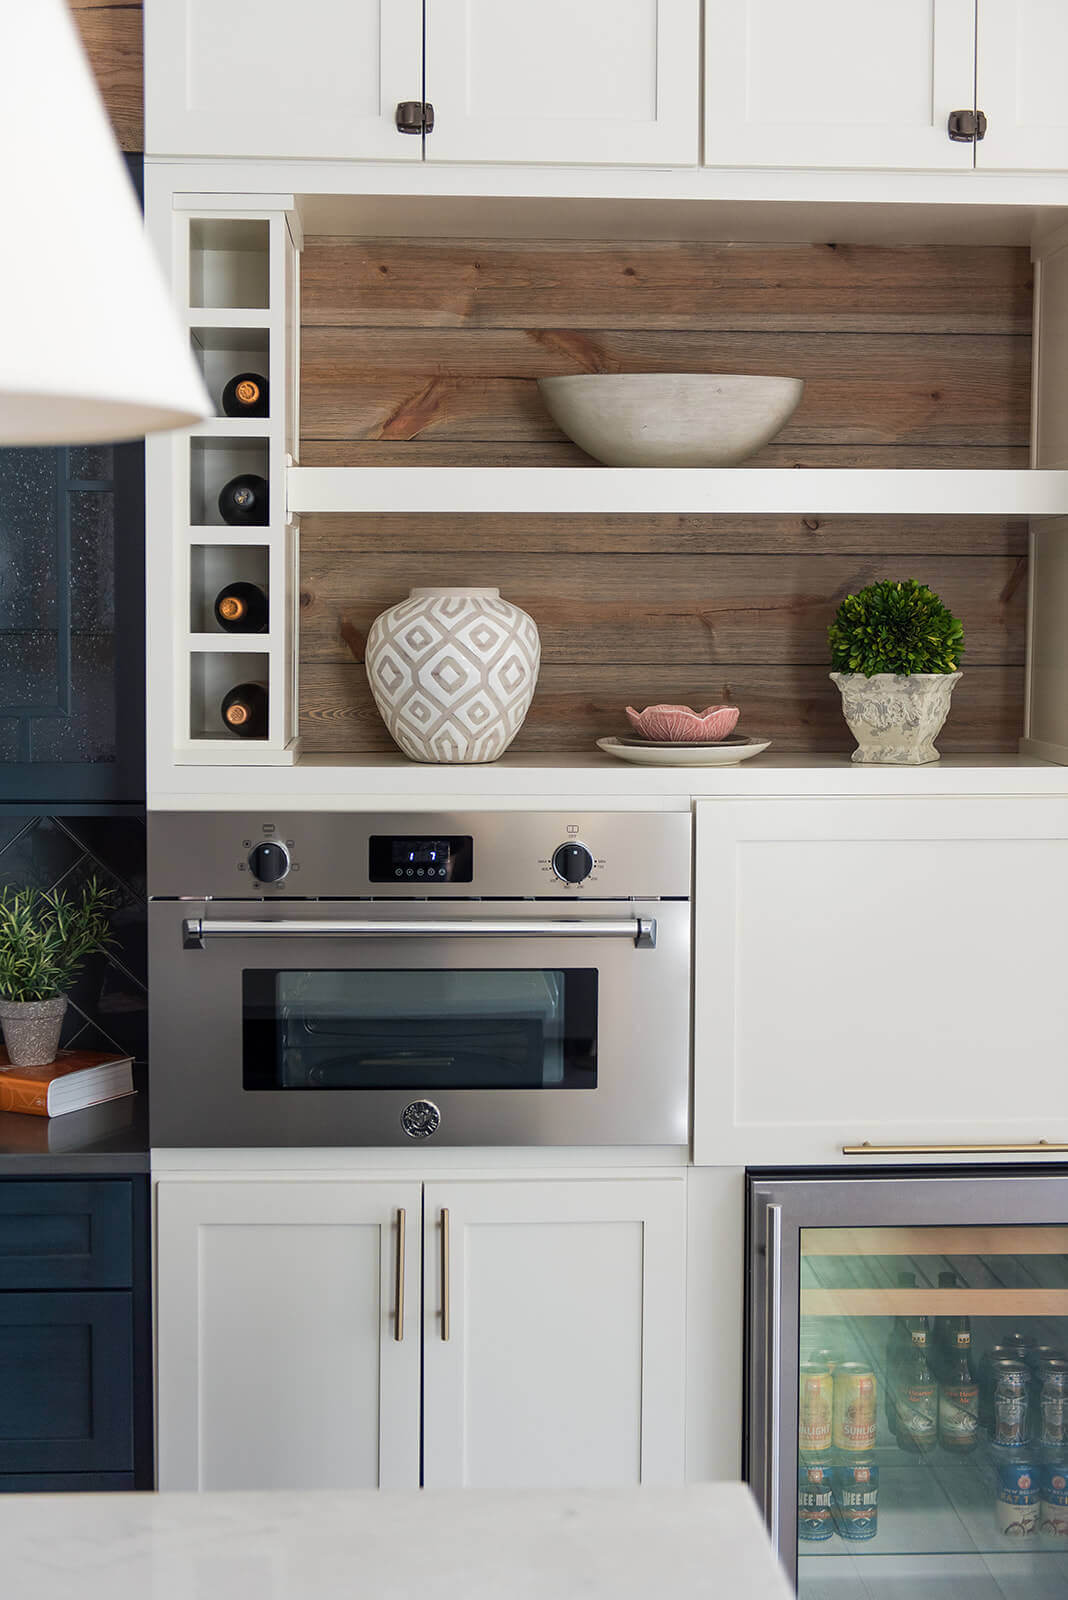
Creating optimal function is usually the number one concern when drafting a kitchen cabinet design. A new cabinet design is a new opportunity to eliminate underused features in an effort to best utilize space available. Zone kitchen work spaces to be more accessible, solve annoying problems and better serve guests through intentional cabinet placement. Kitchen islands, custom storage hutches and built-in beverage bars are designer favorites and timeless cabinet installations that enhance kitchen function.

Kitchen Cabinet Considerations
Interior Design: Everything Home Designs | Photo Credit: Sarah Shields

Our experienced design team can help determine the best use of space in your kitchen—we are experts in solving cabinet layout and storage problems. Kitchen cabinets are costly and complicated, maximize your investment by involving a professional designer from the start. Contact us to jumpstart dream cabinetry design! We are now offering virtual design services!

Happy Home. Happy Life.

Follow us on Pinterest and Instagram for more interior design inspiration.
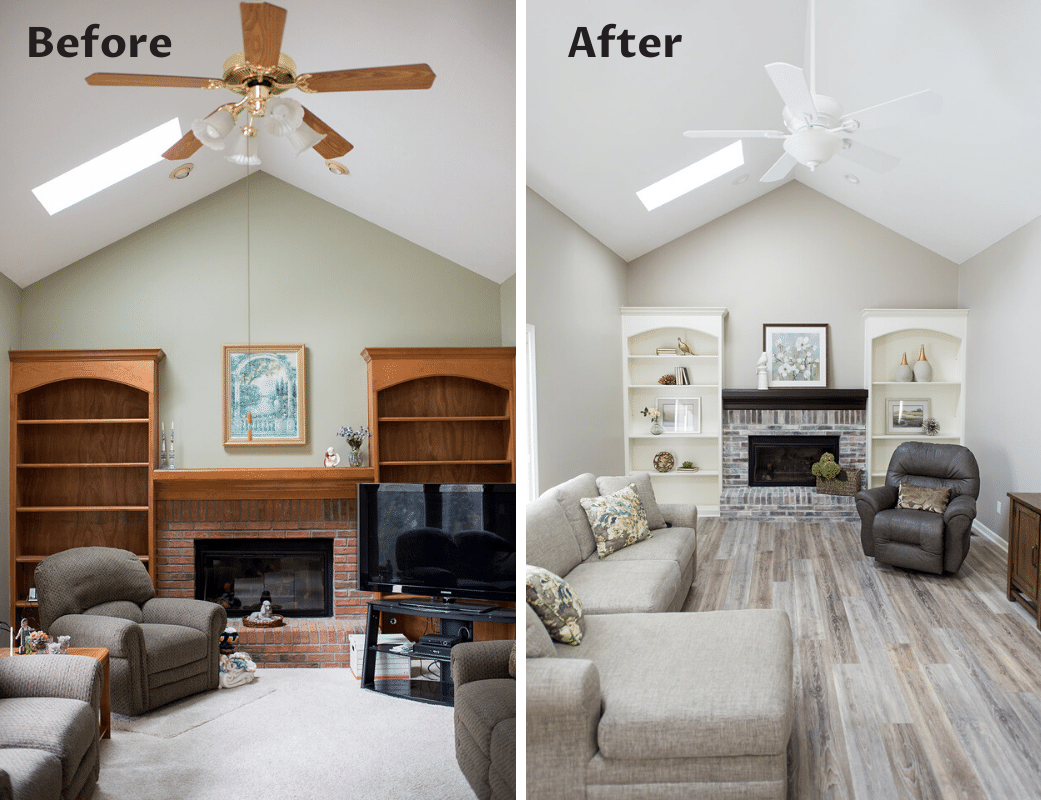
Zionsville Forever Home – Improved Design with Everything Home

Zionsville Forever Home

In preparation for retirement, our Zionsville client relocated from out-of-state to be closer to their kids, grandkids, and aging parents. An open yet cozy and functional house was at the top of their forever home wishlist. Everything Home was able to redesign this couple’s original home floor plan to accommodate their request for a more airy and accessible layout.

Zionsville Forever Home
Interior Design: Everything Home Designs | Photo Credit: Sarah Shields

Problem Solved

When we met at the 2018 Home-a-Rama, our client had architectural plans for their existing home in-hand. Our design team analyzed the plans and saw numerous ways to improve upon the original layout to better suit their unique needs. Everything Home was contracted to re-design this client’s home layout in an effort to maximize comforts of retirement living and opportunities to host large family gatherings. 

Project Scope

The Zionsville home was a teardown and new build, construction was completed by Jerry Schafer Custom Homes. Everything Home was retained to re-design this home. 

Our team used 3D visualization tools to help our client understand their new spaces. 

We made all of the material selections for this project including cabinets, flooring, countertops, backsplashes, trim, lighting, plumbing, and paint. We also established a furniture and decor plan, including project management and an exciting reveal day of the great room, dining and kitchen.  Function and best use of space were paramount to the client. 

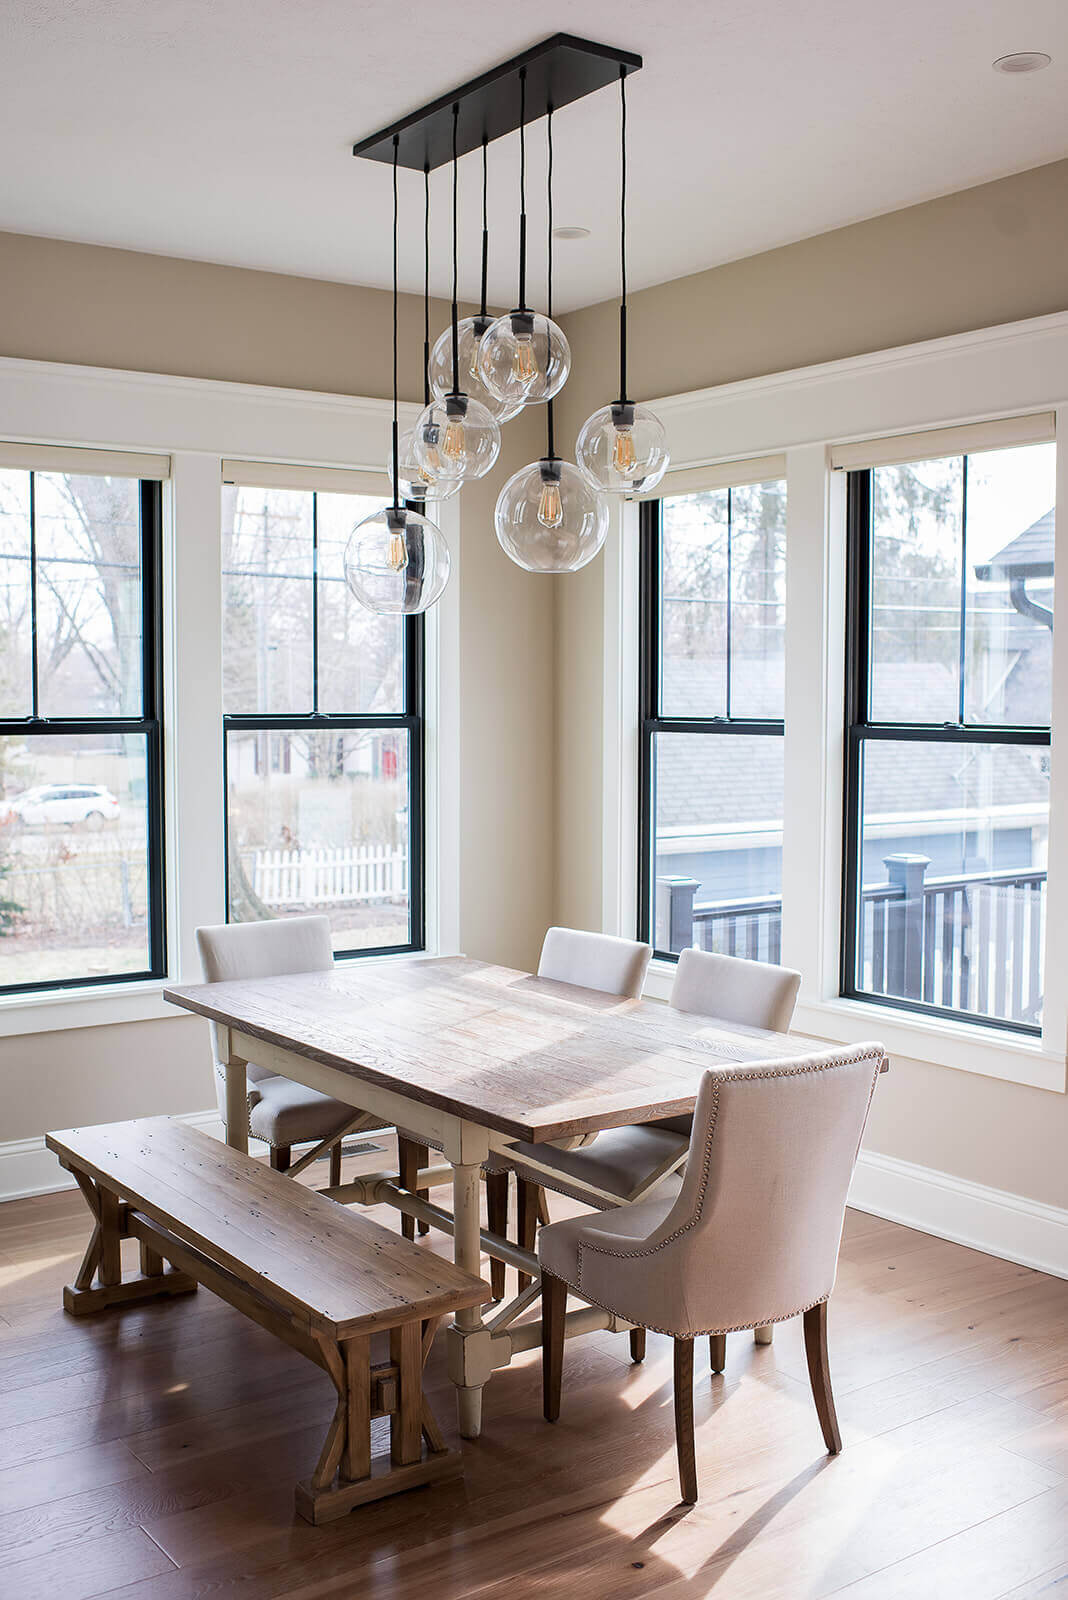
Designer Vision

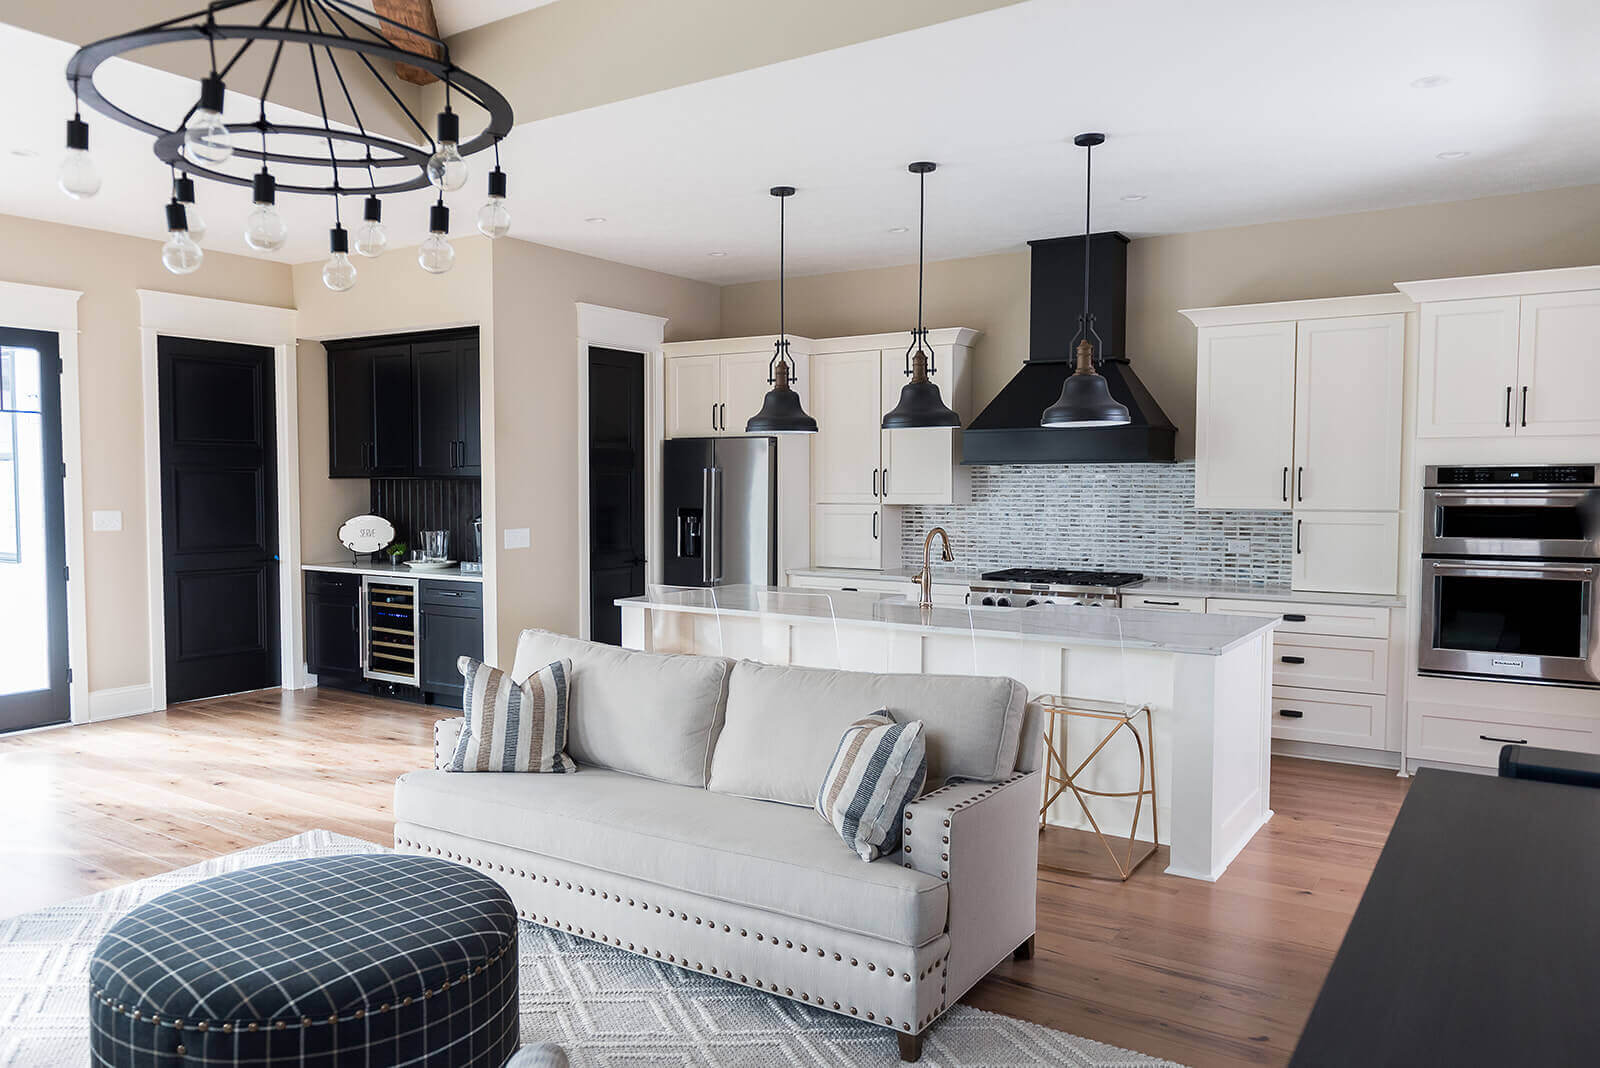
The existing floor plan was re-imagined to include a main floor master bedroom and a laundry room within close proximity to the master. An enlarged mudroom with a breezeway feel and built-in mother’s desk was also part of the new plan. The dining area was moved to provide the best window view in the house, and an expandable dining table with extra seating was added for hosting extended family. Ample play space and a bunk room for frequent visits from grandkids was a must. To make the oversized living space feel more cozy, seating next to the fire for quiet nights at home as a couple was a special touch. Built-in furniture pieces on either side of the fireplace were also installed for versatility and storage. The kitchen design was updated to include a handy beverage station and convenient pantry storage near the garage entry.

A neutral palette with black accents, unique textures, and unexpected patterns was used throughout yielding modern farmhouse feels. Click here to enjoy a full photo gallery tour opportunity of this private home!

Ready to re-imagine your space? Contact us to schedule a 20-minute exploratory phone meeting and learn more about our flexible design services. We are now offering virtual design consultations too! 

5 Common Home Renovation Questions: Answered

5 Common Home Renovation Questions: Answered

Home renovation is definitely exciting, but it can be a little intimidating too. Understanding the process will help you to minimize stress and maximize efficiency. We’ve put together a list of home renovation FAQs to help you navigate your next remodeling project.

Common Home Renovation Questions, answered
Photo Credit: Sarah Shields

From where to start to what to expect, here are five common home renovation questions answered:

#1 What Should I Remodel First?

Evaluate your home for design issues and then work towards solutions. Start by determining what you want to achieve with a remodel including which parts of the home are most in need of renovation. Fundamentals first! This means investing in a sound foundation, roof, windows, plumbing, and heating/air is a necessity if they are in need of repair. Then prioritize your design update list—since updated kitchens and baths often bring the best return on investment we recommend homeowners prioritize these rooms for remodeling if they are undesirable or outdated. 

#2 How Do I Prepare?

Renovation is an investment in yourself, and also your real estate. After prioritizing your renovation wishlist, establish project budgets. This may require methodically scanning a space to determine what the remodel will entail—floor to ceiling. Then get to know what you like and don’t like. View online galleries (Houzz and Pinterest are great places to start!) and visit model homes to get a feel for your own personal style. Consider your home’s anticipated value post-renovation and how long you plan to reside in your residence to determine what investment makes sense. Look for low-interest funding if necessary and begin to interview qualified designers and/or referred contractors. 

#3 Do I Hire Help?

Seeking pro advice is definitely recommended. Even just one consultation with a professional designer can save money and especially time in the long run. Working with an interior designer and/or project coordinator is usually the easiest and most enjoyable way to remodel a home. DIY is an option too depending on homeowner skill, interests, and especially timeline. A combination of the two may be the best fit and a good option for modest project budgets. Everything Home offers flexible design services ranging from design coaching (designer provides a professional design vision for the client to implement with their own contractors) to full-service design and install (designer is retained to design, coordinate, and oversee the renovation project from concept through completion using preferred vendors and construction partners). 

#4 How Long Does Home Reno Take?

Home renovation can take weeks to months depending on the scale of the project. Timeline is an important consideration before planning a renovation. Reno often leads to some disturbance at home, including some rooms being inaccessible or relocation from the job site. Plan renovation projects during appropriate seasons to accommodate altered schedules and living. Project timelines can change, sometimes speeding up and other times slowing down. Surprises can be mitigated with ample research and upfront exploratory work. The more planning, the better!

#5 Will I have to Move Out?

Though not necessary for every renovation project, typically for convenience it is best to relocate during extensive remodels. Living off-site may even help contractors to accelerate construction since working hours will be less limited. Projects requiring demo are particularly messy and often generate large amounts of dust, and sometimes even toxins. Reno zones may be deemed unusable for extended periods of time—a potential need for temporary housing is definitely something to consider when formalizing project budgets.

Working with an experienced remodeling contractor like Everything Home can take the mystery out of home renovation. Contact us to learn more about our flexible design services and award-winning home makeovers. 

What home renovation questions do you have? Leave them in the comments below and we’d be happy to answer them. 

Follow us on Pinterest for more interior design inspiration.
A Complete Home Renovation with Everything Home Designs

A Complete Home Renovation with Everything Home Designs

Recently we had an exciting opportunity to renovate a home that hadn’t been updated since the 90’s — a designer’s dream project! Our client was after fresh feels without sacrificing function, something we can definitely get behind.

Kitchen before/after renovation
Photo Credit: Sarah Shields

Are you curious about our renovation process? From the first working session to WOW, Everything Home’s signature design process is organized, professional, and seamless. Follow along to see how our complete home renovation process works, concept to completion. Read how we turned a 1990’s time capsule home into a 2019 modern model home in just two months. 

Our Complete Home Renovation Process, Step by Step

Step 1 – Working Session

Everything Home jump started this renovation project with a working session. This paid two-hours session is the first step in our signature design process. The working session is more than a simple meet-n-greet, it gives our client an opportunity to share their wants and needs, and hear a professional designer’s advice and recommendations in-home. 

The working session is very hands-on. During the working session for this project, we moved furniture around, envisioned color palettes together, and weighed options for ideas both big and small. A consultation summary and estimate for design development was provided to the client the day of their working session.

Step 2 – Design Development

Our client entrusted us with the next exciting phase: design development. We visited their home to capture its unique dimensions and character through measurements and photos. From there, our designers crafted mood boards filled with style recommendations and created detailed scaled drawings and visual renderings, all shared with the client for their input and approval.

Design development also involves close collaboration with our trusted trade partners. We organize a ‘Trade Day’ where everyone – from electricians to carpenters – walks through the project together. This open forum allows us to discuss the design vision and ensure everyone understands the specific requirements for tasks like removing walls or installing new lighting. Our successful design projects are a direct result of these strong contractor relationships and our commitment to crystal-clear communication. As you may have noticed, communication is at the heart of everything we do!

Before/After Entryway Renovation
Photo Credit: Sarah Shields

Once all details were finalized, we brought the client back in for review. An estimate for project management including all design installation logistics was also presented. After approval our designers got busy sourcing, ordering, tracking, receiving, and evaluating furnishings as they arrived. 

Step 3 – Project Management

Ready to reno! The client hired Everything Home for project management, the third step in our signature design process. This allowed us an opportunity to make their design dreams come to life. To ensure the design project was managed to expectations, a weekly check-in meeting was scheduled with the client, designer and trade partners through the entire design installation. 

Everything Home designers are experts in managing logistics and frequently stop by job sites to confirm progress is going as anticipated. The client doesn’t have to worry, the designer is there to take care of any surprises that pop up along the way.

A Lasting Impression

This renovation was full of updates including modernized cabinetry, flooring, fixtures, paint, appliances and the list goes on! Paint was no doubt a high-impact design update in this renovation. Dated dark-stained molding and doors were re-painted with a fresh coat of crisp white. Down came old fashioned floral wallpaper and up went a neutral paint palette of white, cream, beige, grey, dusty blue, and lilac. 

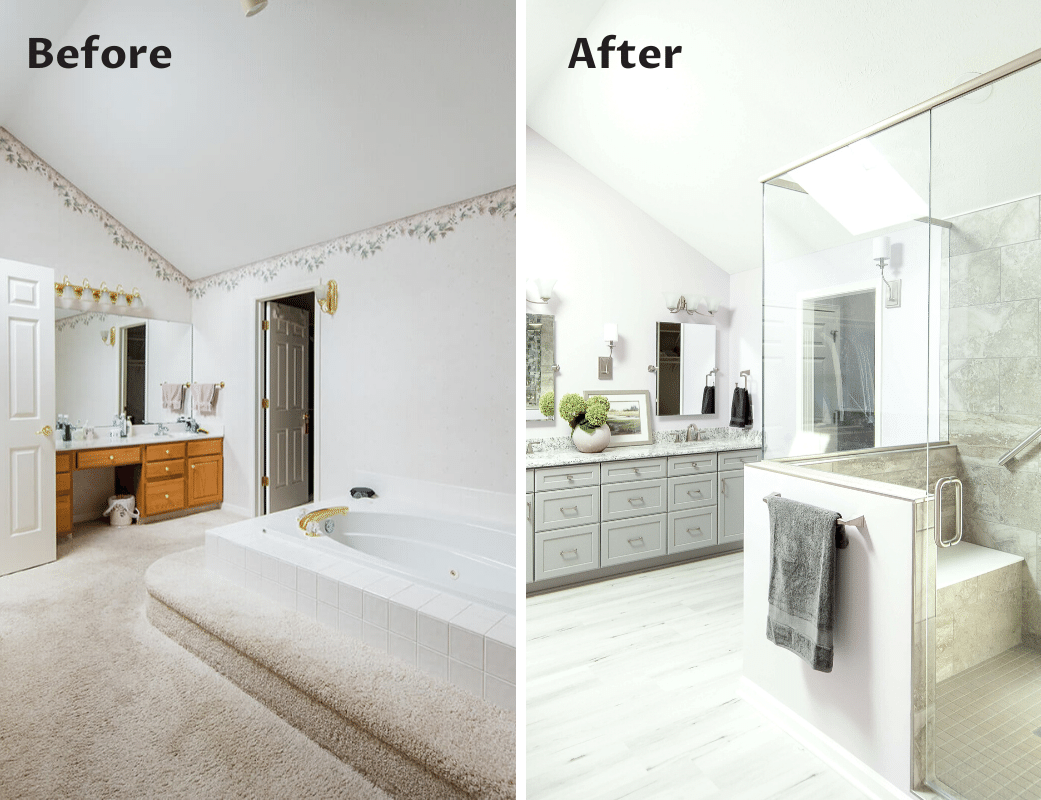
 Before/After Bathroom Renovation
Photo Credit: Sarah Shields

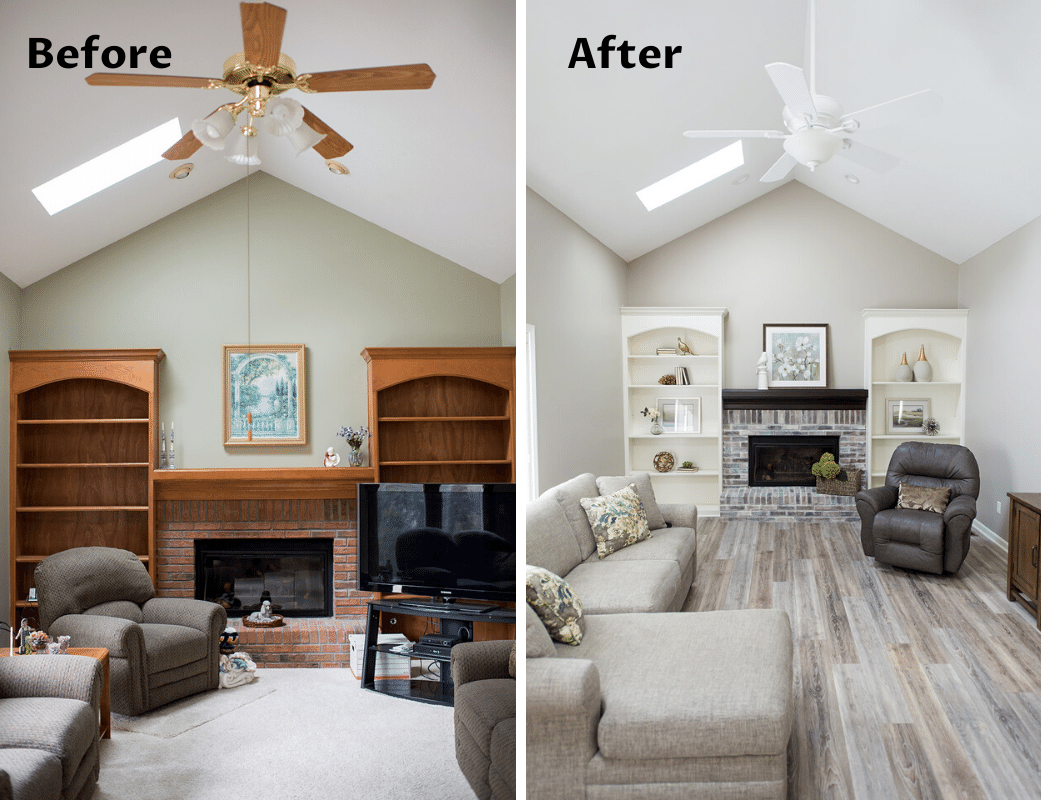
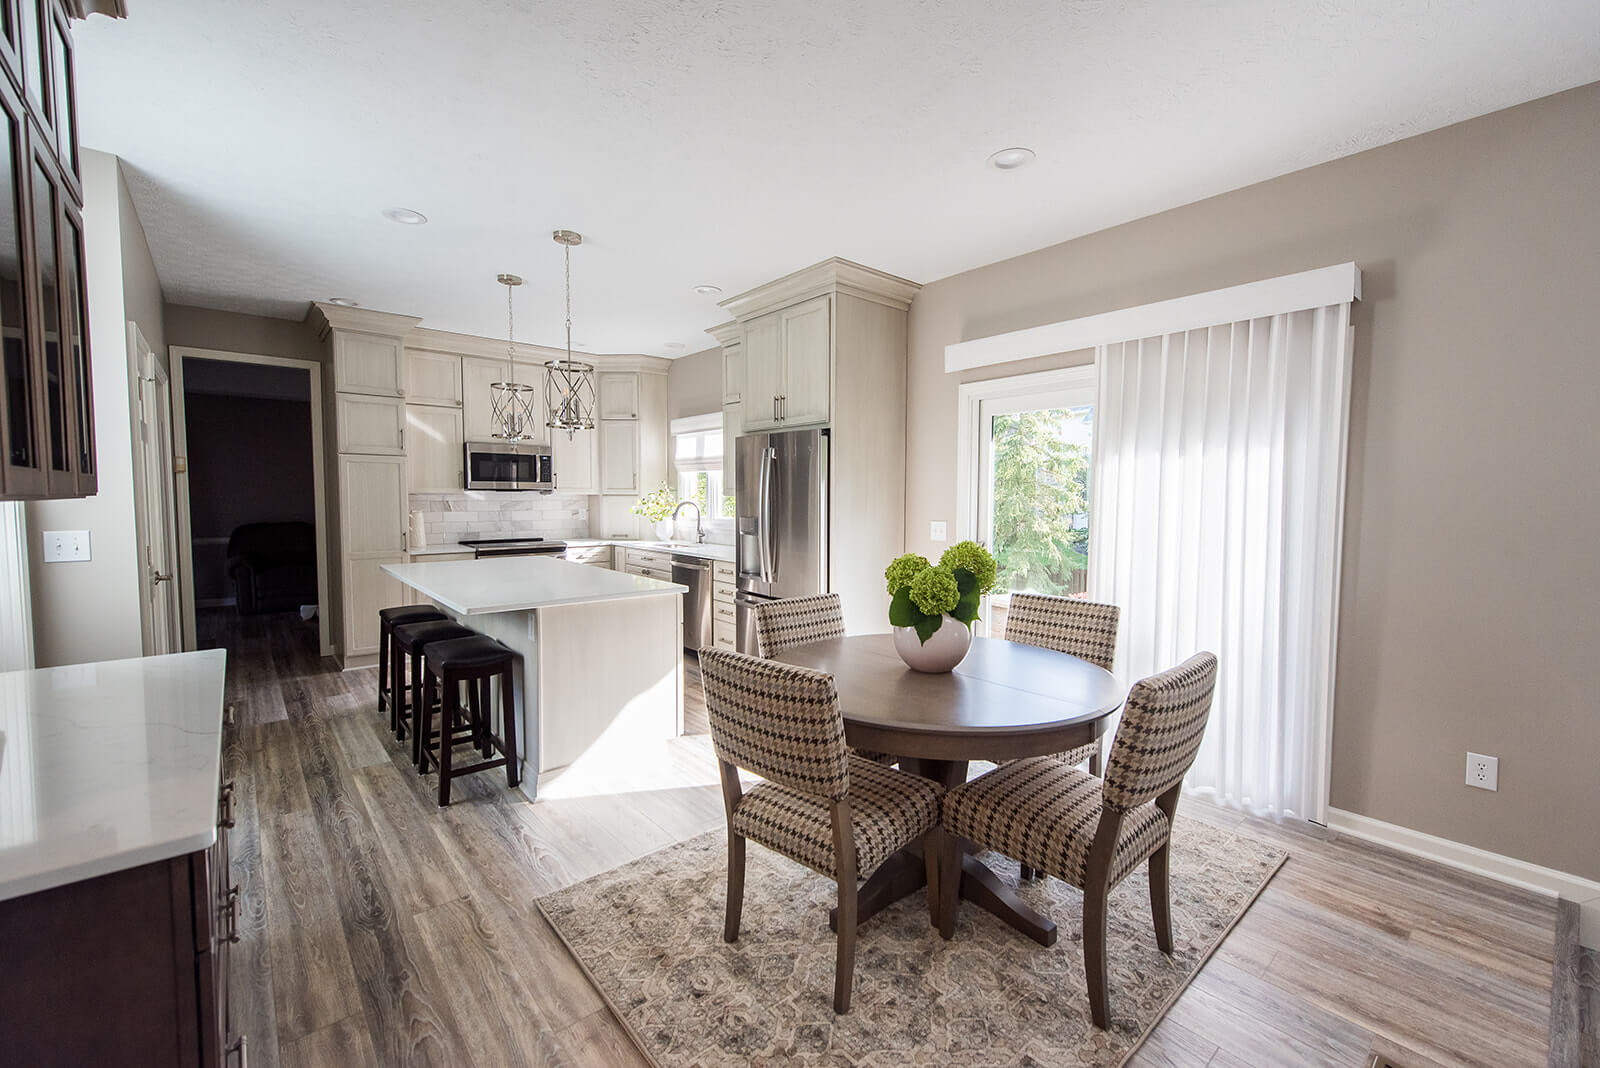
Luxury vinyl plank wood-tone floors now grace the space where worn-out carpets once lay. We swapped dated gold brass fixtures and hardware for sleek nickel-plated selections. The buff brick fireplace surround also received a timeless facelift, now showcasing neutral brick tones. To further emphasize the modern style, we replaced heavy drapes and curtains with simple white Roman shades.

Complete Home Renovation - Before/After living room
Photo Credit: Sarah Shields

Click here to view more before and after photos of this complete home renovation project.

A new home doesn’t have to literally mean a new home—Everything Home can breath new life into an old space with our award-winning interior design services. Ready for a new look in the new year? Contact us to get started on your complete home renovation or home refresh. 

Happy Home. Happy Life.

For more design inspiration and complete home renovation projects, follow us on Instagram.

Follow Us